How to use the advanced position tool ?
If no native prestashop hooks are suitable for you to position your connectors, the module allows you to increase the positioning possibilities by using your pages HTML elements. You can indeed decide on which HTML element of a given page you want to add the connectors.
NOTE: This feature needs some technical knowledge so if you are not comfortable with this, we advise you to ask your technical contact to help you.
Click the "Position advanced settings" tab and go to the "Position advanced settings: use of HTML elements" part.
Click on « Add new position » to configure a new custom position for your connectors:
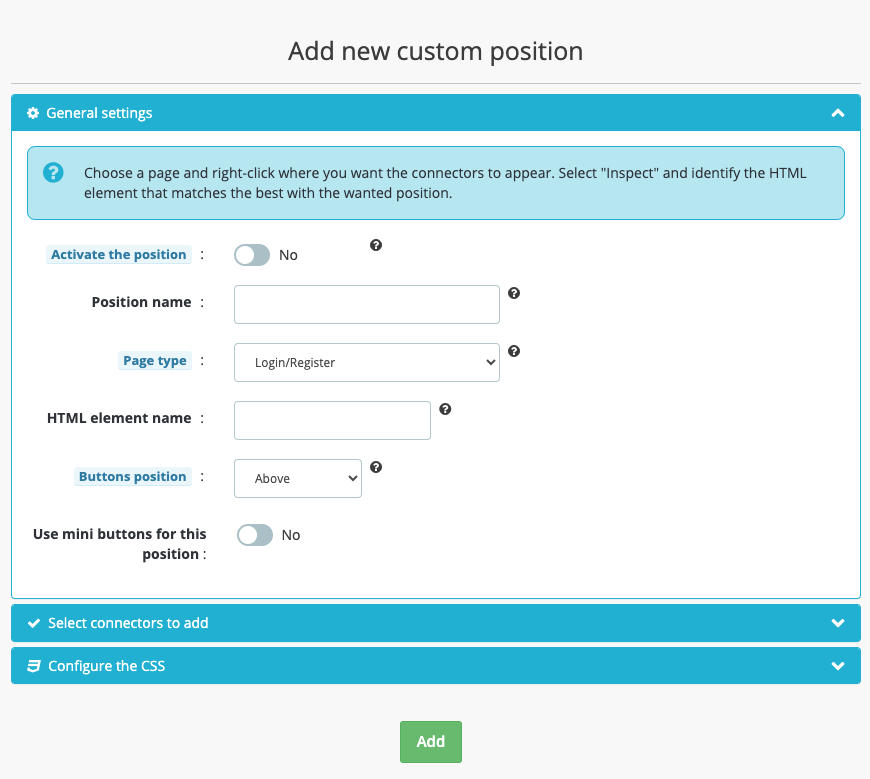
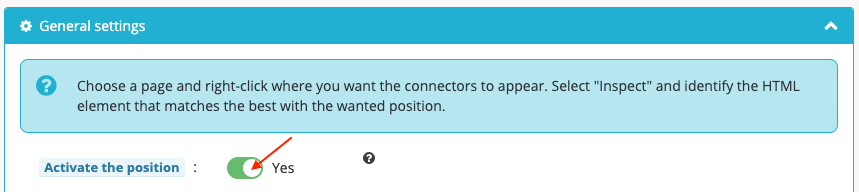
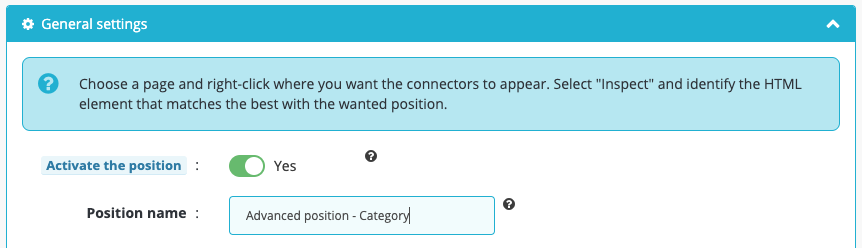
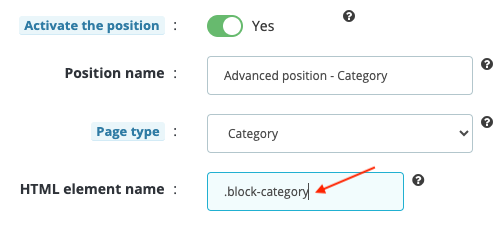
Activate the position to display connectors on this new position:
In the "Position name" field give a name to this new connectors position in order to find it in positions list. Be careful: use a different name than the default position names or the names of custom positions already created. Each position must have a unique name.
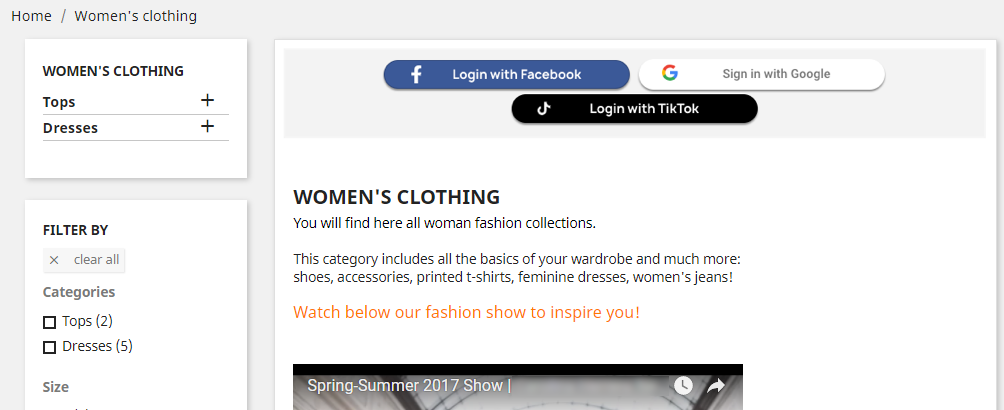
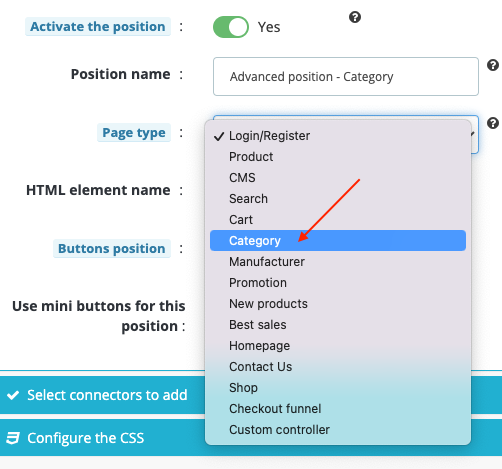
Suppose you want to add connectors to a category page just above the list of products:
You can for example write : " Advanced position - Category":
In "Page type" indicate the type of the page on which you want to position the connectors. In our example, it will be "Category":
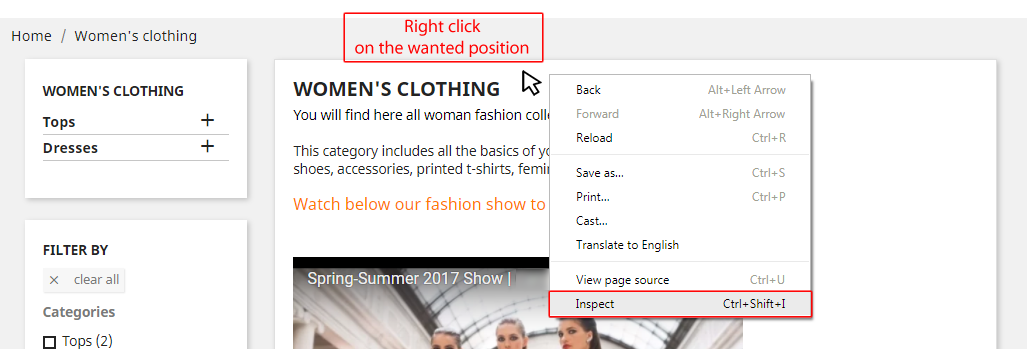
Now, go to the front office and click right exactly where you want to position the connectors. Then select "Inspect":
Find the HTML element name on which you want to add the connectors:
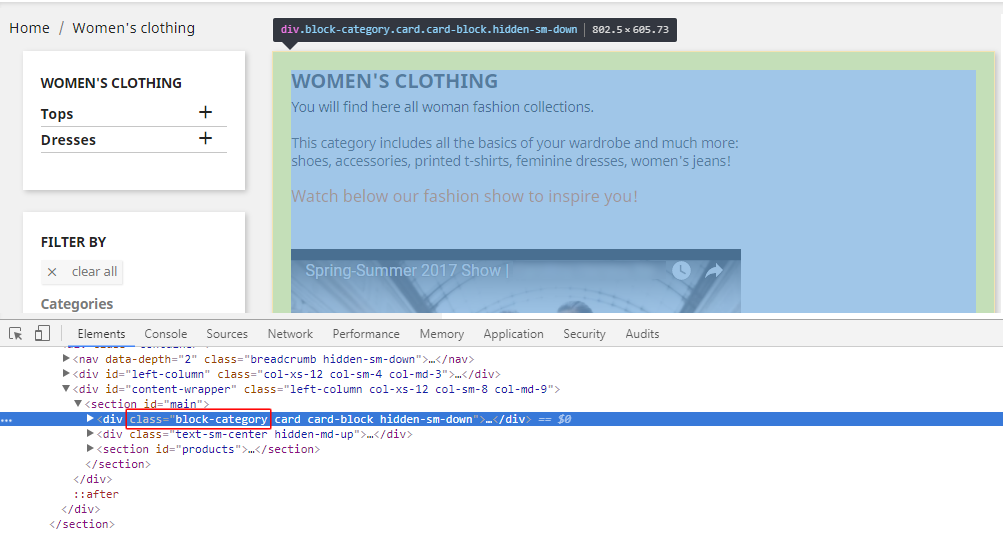
For example, here it's a "class" named .block-category
Note that if you want to use a "class" you have to add a point before the element name (for example .block-category) and if you want to use an "id" you have to add an hashtag (for example #content-wrapper).
Return in the module's back-office and continue the configuration of your advanced position by entering the name of the HTML element identified above:
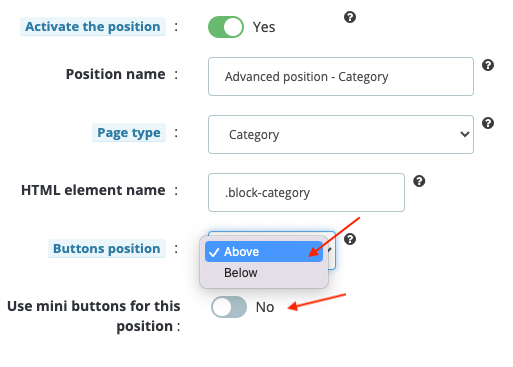
Choose the position of the connectors relative to this HTML element (above or below) and the size of the buttons (large or small):
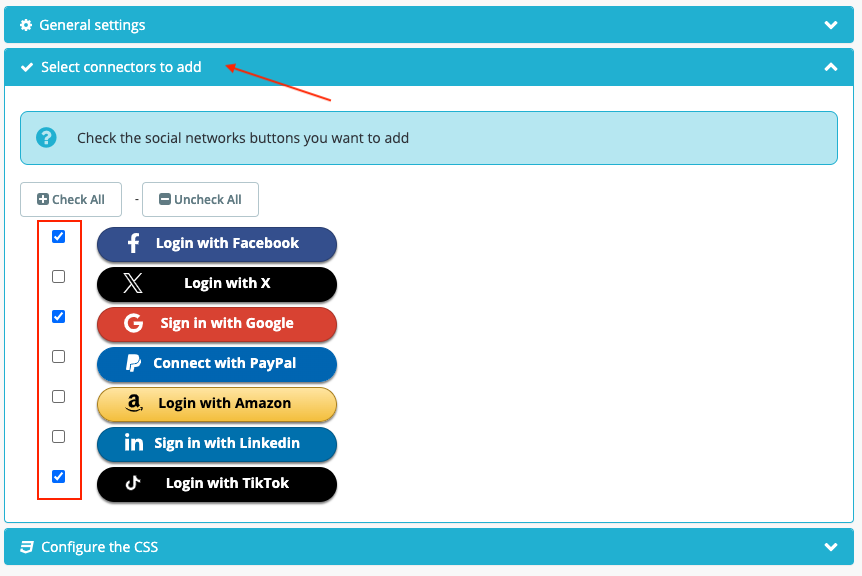
Then click on "Select connectors to add" and check the buttons you wan to appear:
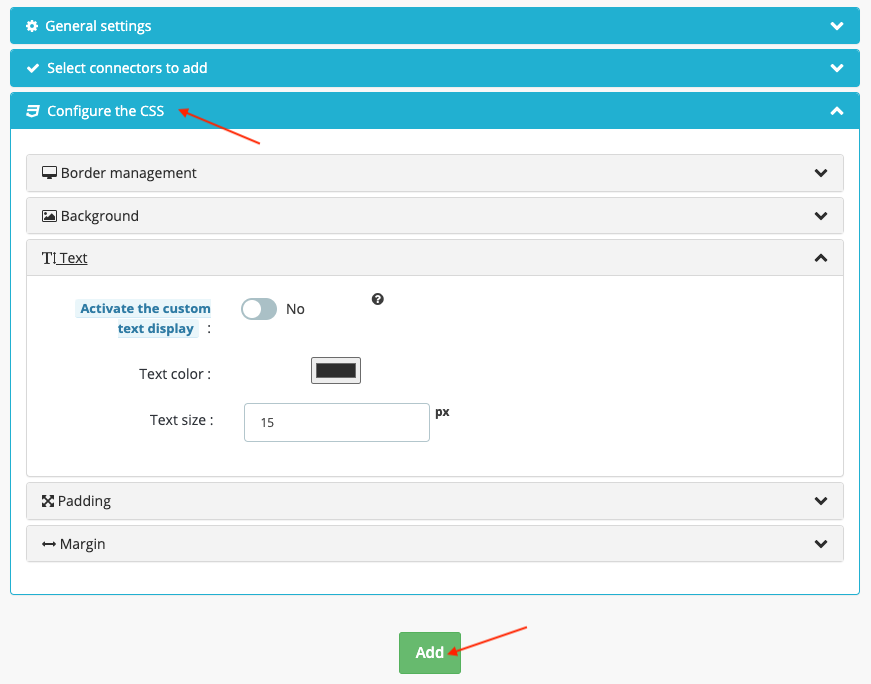
Configure the CSS of the connection block. Note that you can choose to display the invitation to connect text (if you've previously activated it in the module's "Basic settings" tab). Finally, click on "Add":
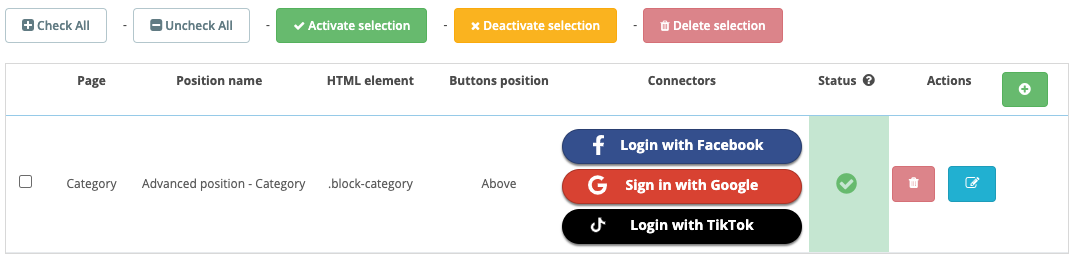
You can see an additional line in the list of your advanced positions with information about this new custom position:
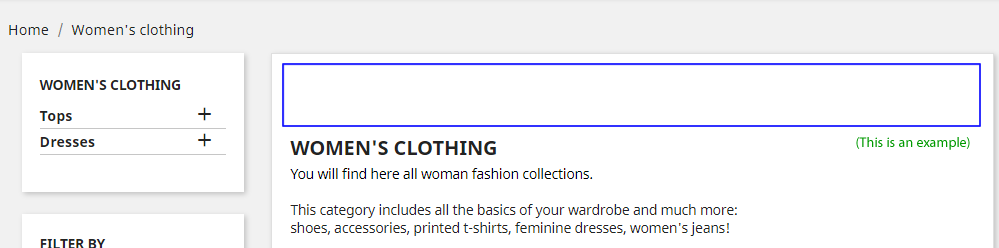
Check the result on your shop: