How to configure the Advanced Featured Products module?
![]()
Module - Advanced Featured Products
The Advanced Featured Products module allows you to display, on your PrestaShop store’s homepage, custom product tabs showcasing selections of products according to your own criteria: categories, best sellers, new products, promotions, or manual selection. This way, you can highlight the most strategic products for your business while offering clear and attractive navigation to your visitors.
Thanks to its flexible configuration, each tab can be customized: name, type of products displayed, display order, etc. The module automatically adapts to your PrestaShop store’s design.
This guide will walk you step by step through configuring and making the most of all the possibilities offered by the Advanced Featured Products module.
1. General presentation and operating principle
The module adds a tab block to your store’s homepage. Each tab corresponds to a product selection: you can create as many tabs as you wish, and for each one choose:
- The tab name (multilingual)
- The tab type: category, home products, best sellers, new products, promotions, custom category
- The sort and sort direction of the products
- The category or products to display depending on the tab type
- The activation or not of the tab
Tips:
Use tabs to highlight your best sellers, new products, or seasonal promotions. You can also create a specific tab for a strategic category (e.g.: "Our favorites", "Summer new arrivals", etc.).
2. Tab configuration
- In the module’s left menu, click on Tabs to access the product tabs management.
- Click the Add tab button to create a new product tab.

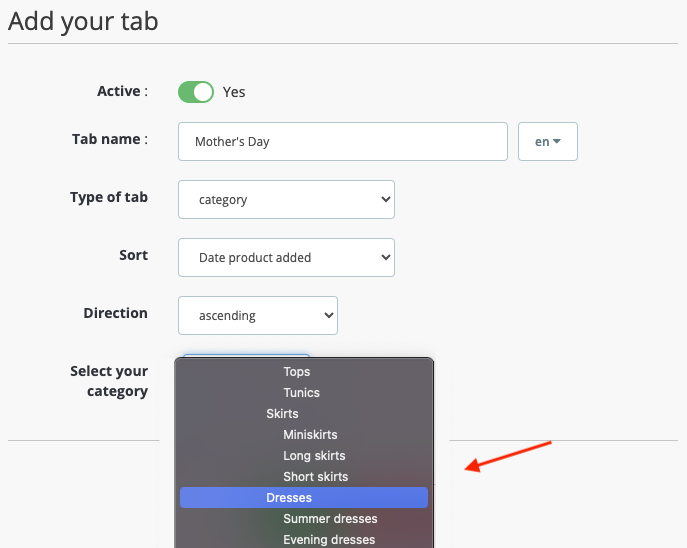
- Activate the tab or leave it inactive as needed by selecting the Active option.

- Enter the Tab name (you can translate it into all the languages of your store).
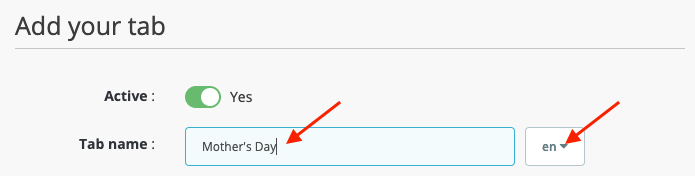
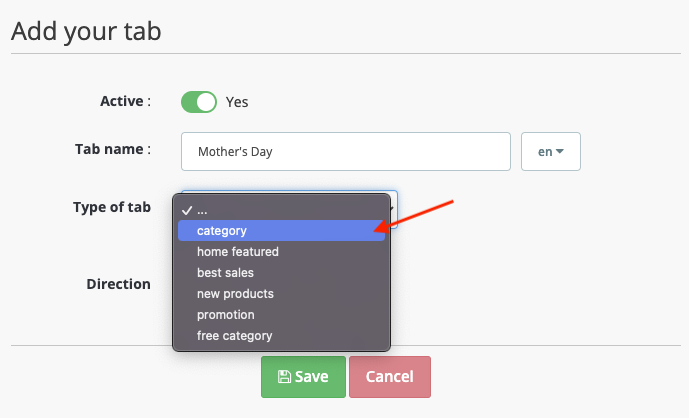
- Select the Tab type:
- category: products from a specific category
- home products: products featured on the homepage
- best sellers
- new products
- promotion
- custom category: manual product selection
For example, we selected "Category":
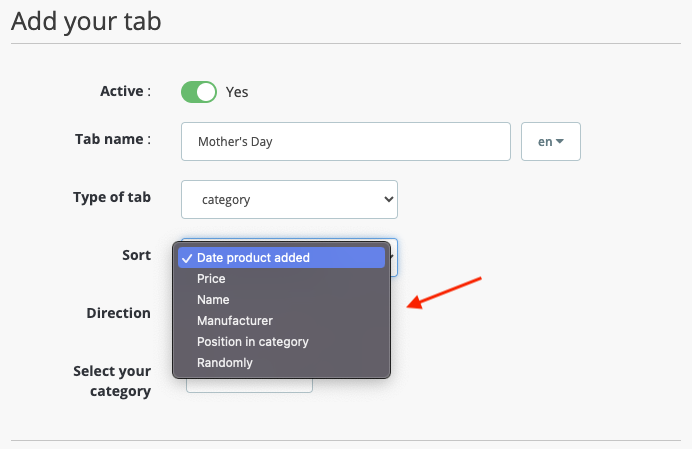
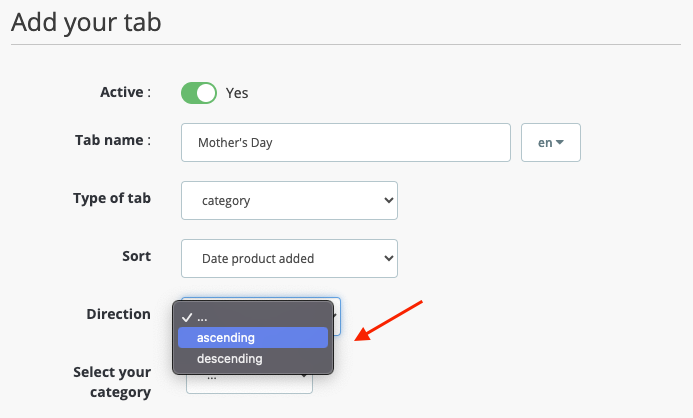
- Choose the sort criterion (date added, price, name, manufacturer, position, random) and the direction (ascending or descending).
- Depending on the selected tab type:
- For a "category" tab: select the category to display in the tab.
- For a "custom category" tab: search for and manually add the products to display in the tab.

- For other types (best sellers, new products, promotions, home products): product selection is automatic according to the module’s criteria.
- For a "category" tab: select the category to display in the tab.
- Save the configuration of your first tab.
- Repeat until you have created all the desired homepage tabs.
Tips:
For optimal display, use high-quality product images and make sure each product added to a tab has a photo and an attractive description.
Once your tabs are created, you can at any time:
- Reorder the tabs by drag-and-drop to choose the display order on the homepage.
- Activate or deactivate each tab as needed.
- Edit the content of a tab at will.
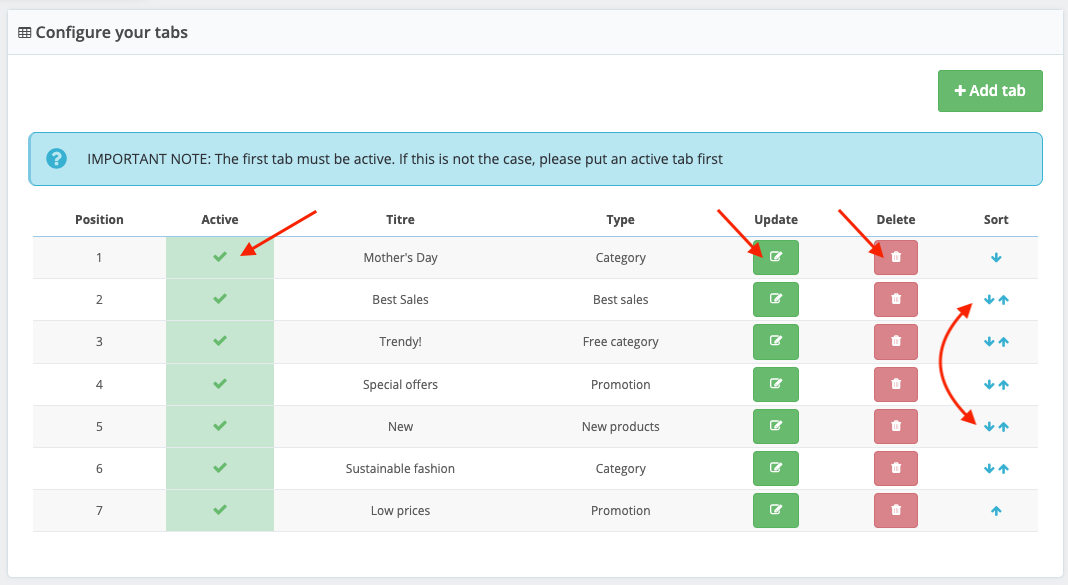
Note:
The first tab must be active for the block to display correctly on the homepage.