Where can I find my Google Ads tag ID and my conversion label?
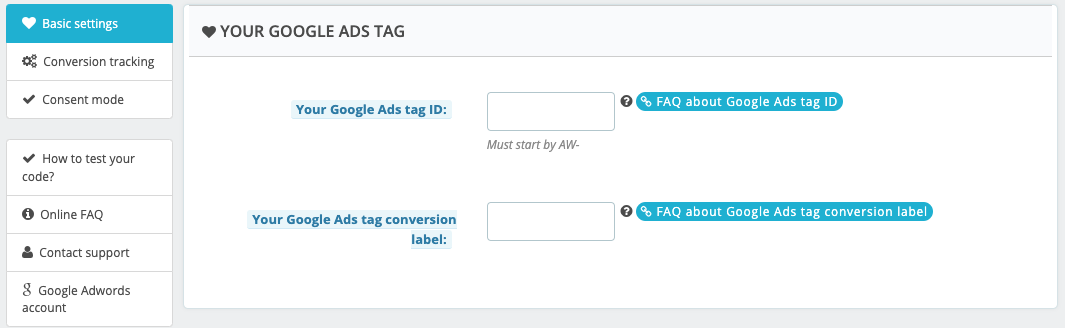
In the "Basic settings" tab of the Google Ads Conversion Tracking Pro module, you have to enter two codes: your Google Ads tag ID and your conversion label:
In order to fill in these identifiers, you need to create a "conversion action" in your Google Ads account.
If you haven't yet created a conversion action in your Google Ads account, follow this FAQ instead. We'll explain how to create one, and how to retrieve your Google Ads tag ID and your conversion label.
If you've already created your conversion action, here's how to retrieve your Google Ads tag ID and your conversion label:
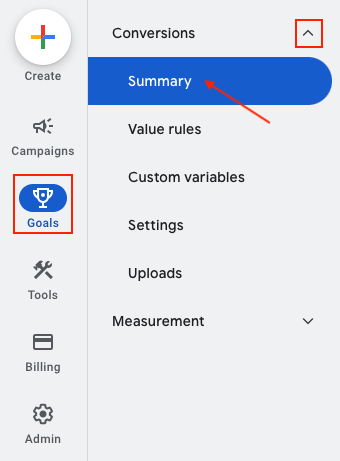
In the interface of your Google Ads account, in the left-hand menu, click on "Goals" and then go to the "Conversions" section, in the "Summary" tab:
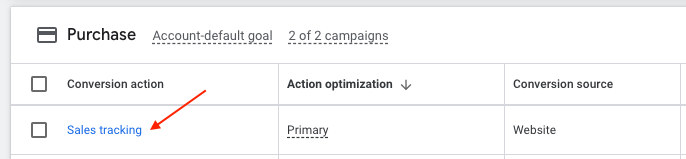
Click on the name of the conversion action linked to your website:
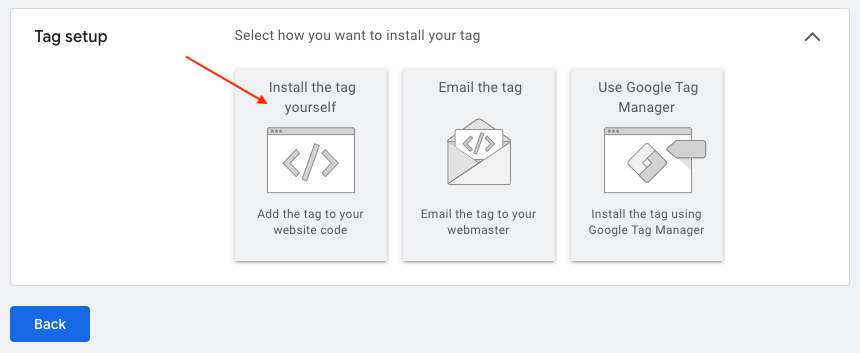
In the "Details" tab, click on "Tag setup":

Select "Install the tag yourself":
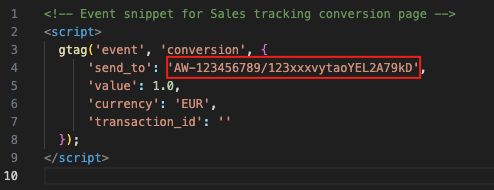
Scroll down to the "Event snippet" section and click on "Download snippet" :

Save the snippet on your computer, then open it with a text editor.
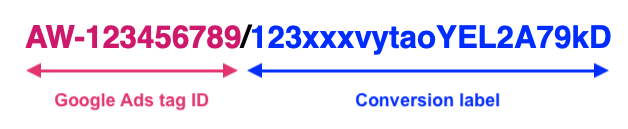
Look at the code after 'send_to'. The part of the code before the "/" is your Google Ads tag ID and the part after the "/" is your conversion label:
Copy and paste these two codes into the corresponding fields in the "Basic settings" tab of your module:
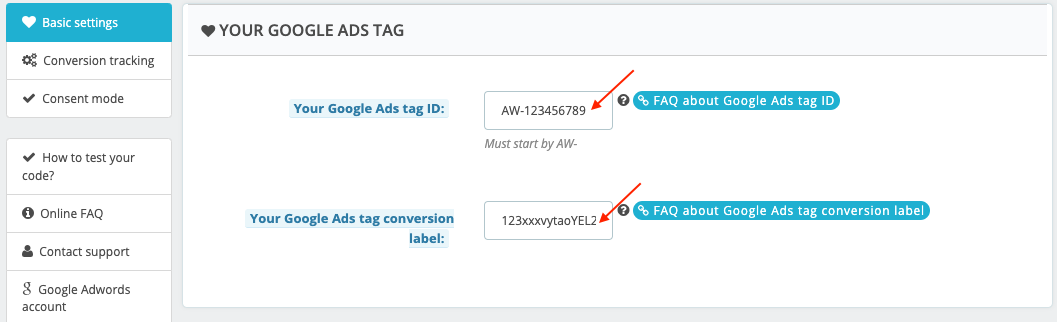
Save the module "Basic settings" tab once the codes are copied.
To know how to test your conversion tag thanks to a test order, read this FAQ.