How to configure the Google Pay module?
![]()
Module - Google Pay
The Google Pay module allows you to install Google's payment method on your store. This way, your customers no longer need to enter their banking information on your site - they simply use the secure wallet of their Google account. Our module offers three ways of integrating Google Pay: classic integration at the end of the checkout process, integration in the shopping cart and another on the product page, for express, one-click checkout. The module uses the Stripe payment gateway, which guarantees highly secure transactions and encrypted data exchanges that comply with European laws, both for you and your customers.
1/ Basic Configuration
To use Google Pay payment method on your store, you must create a Stripe account. This registration is free.
Once your account is created, follow our documentation to activate the Google Pay payment method in your dashboard and retrieve your test and production API keys.
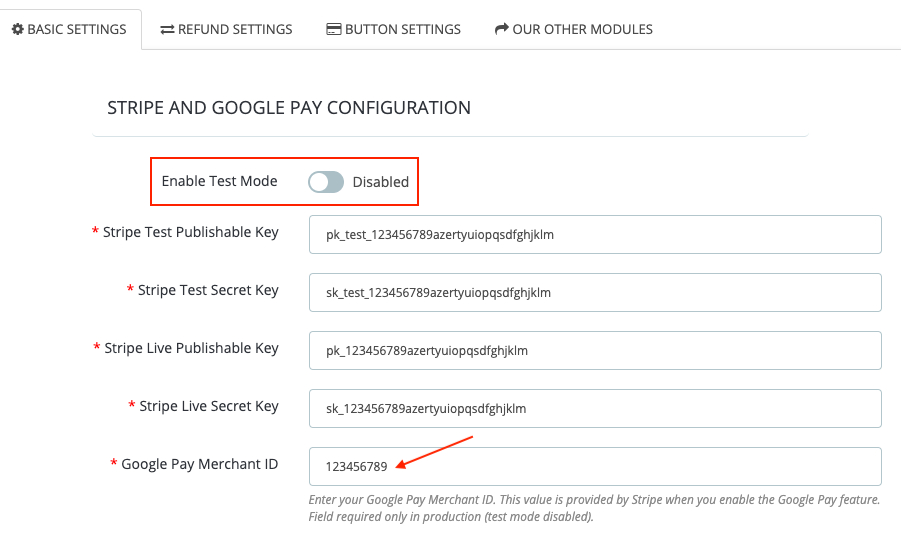
Go to the module configuration and in the "Basic Settings" tab, enter your test and production API keys (entering production keys is mandatory even in test mode):

Enter your Google Pay Merchant ID. This is provided in your Stripe account when you activate the Google Pay feature:
Important: When you switch to production mode, you must also have entered your Google Pay Merchant ID. This value is not mandatory in test mode, but we recommend entering it as soon as you have it.
Save.
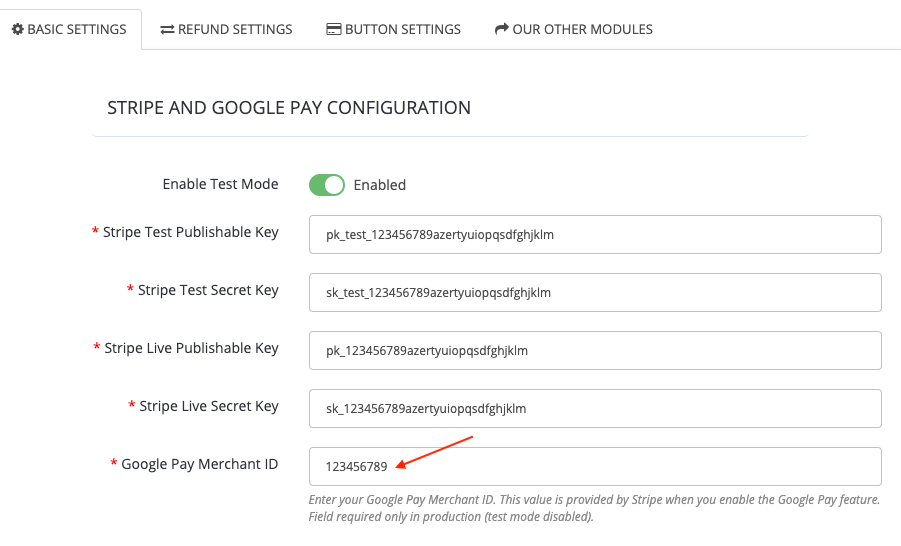
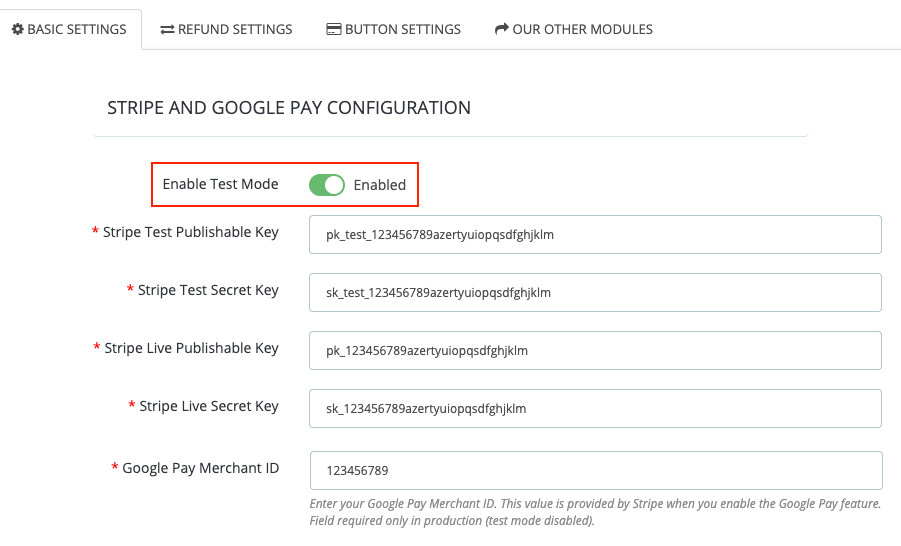
We recommend activating test mode to perform a test transaction, after configuring the module, before going into production (see last part of this documentation).
Important: Always keep your secret API keys in a safe place and never share them.
2/ Automatic Refund Configuration
The module allows you to configure automatic refunds via Stripe.
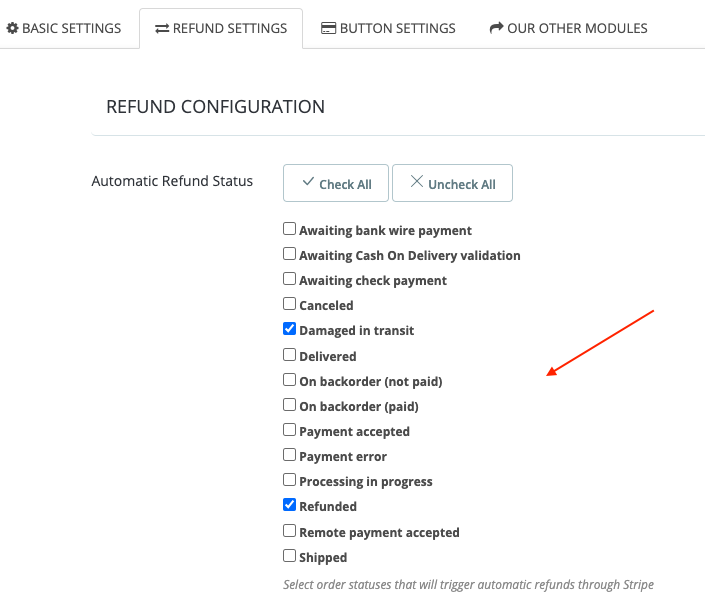
Go to the "Refund Settings" tab and select the order status(es) that will trigger an automatic refund.
For example:
Don't forget to save.
The refund will be automatically processed via Stripe when an order changes to one of the selected statuses.
Important: When processing a refund, you MUST first generate a credit memo in your PrestaShop back-office, then change the status of the concerned order to one of the selected refund statuses. The module will then automatically send the refund request to Stripe based on the credit memo amount.
3/ Google Pay Button Customization
Button Appearance
The module allows you to configure the appearance of the Google Pay button.
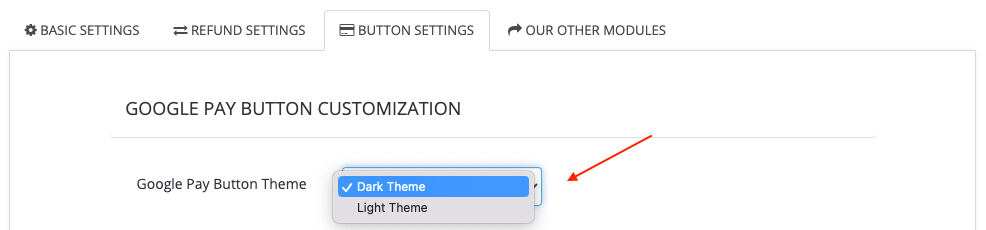
Go to the "Button Settings" tab and choose the theme (light or dark) for the Google Pay button:
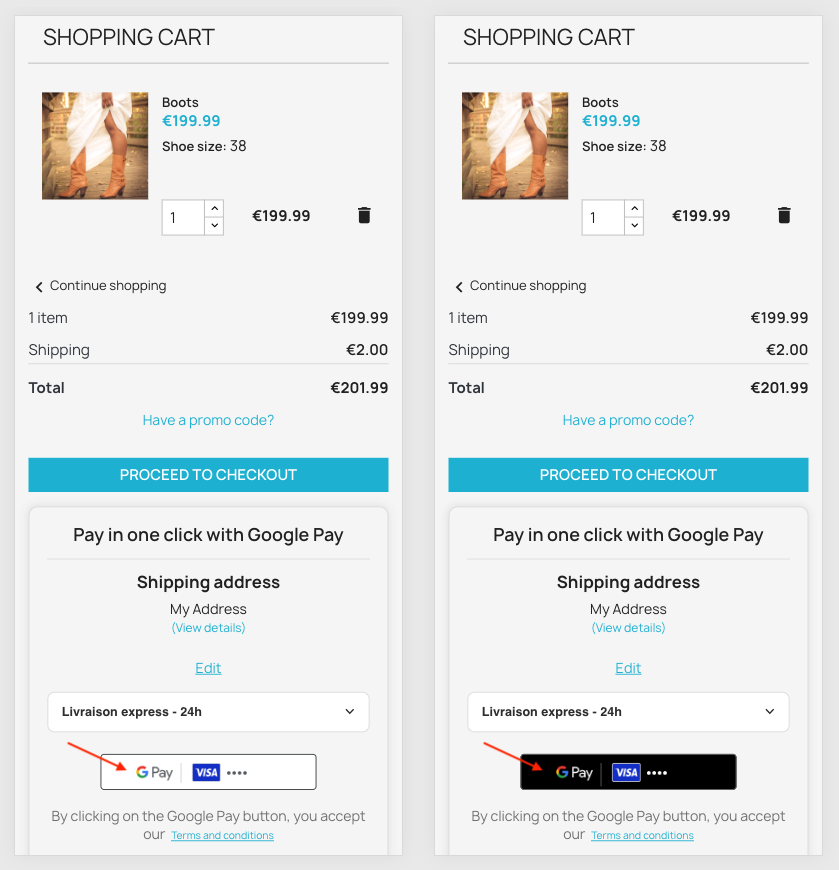
Here's the difference between the light theme (recommended for dark backgrounds) and the dark theme (recommended for light backgrounds):
Enable One Click Order
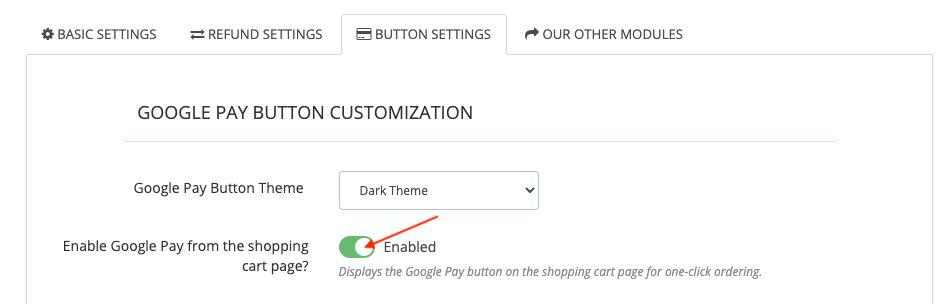
To enable one-click payment with Google Pay from the cart page, simply activate the corresponding option in the "Button Settings" tab:
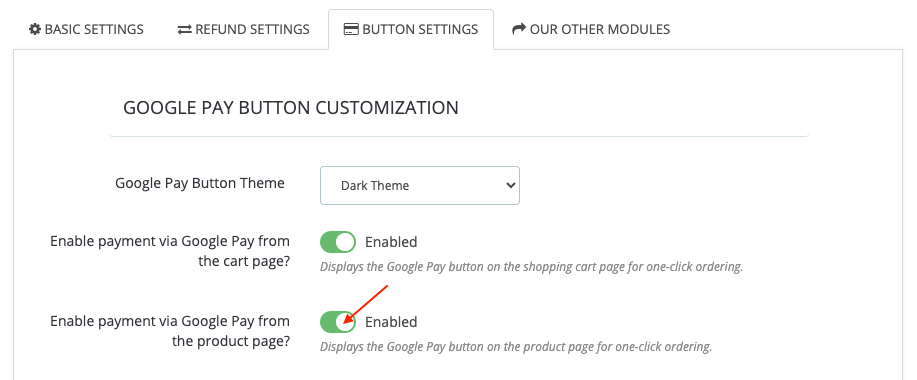
Similarly, if you want to enable one-click payment with Google Pay from the product page, simply activate the corresponding option:
If you want to enable order validation from the basket page or from the product for all users, including those who don't yet have a customer account or who haven't yet registered a first delivery address, then you also need to enable the "Allow customer to create a new address?" option:
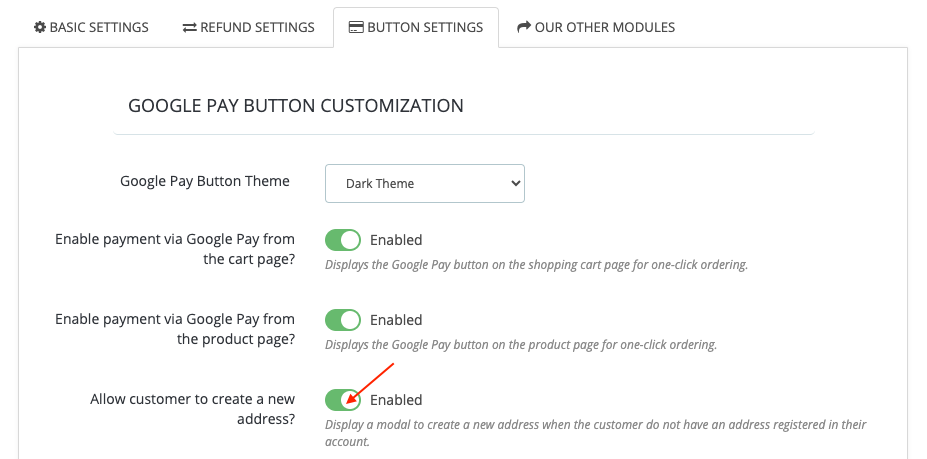
Thus, if the module doesn't find a shipping address for the customer, they will simply see an intermediate window allowing them to enter one before validating their payment.
Important: If you don't activate this option, then if the customer doesn't have a shipping address, they will be directed to the checkout funnel to follow the usual process.
Tip: Activating one-click payment from the cart or the product can increase your conversion rate by reducing checkout steps! So don't hesitate!
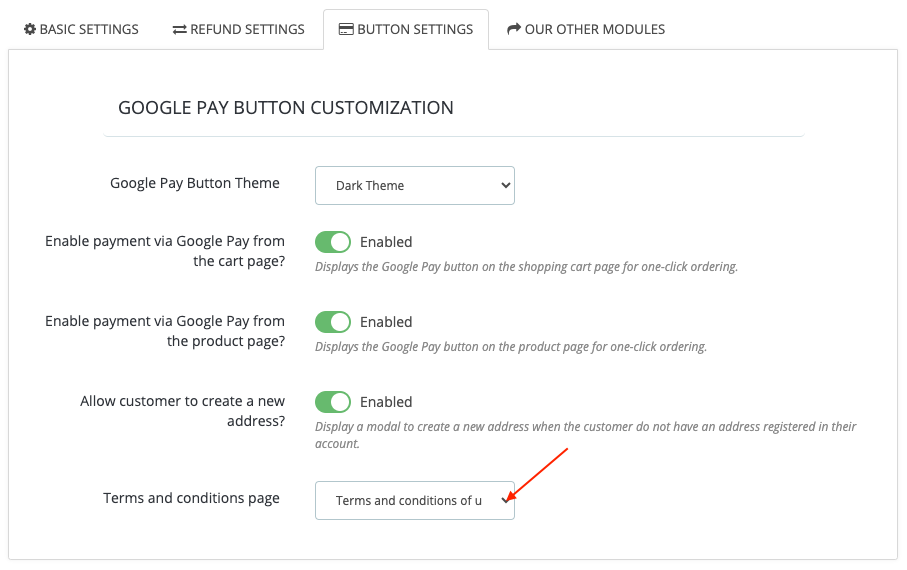
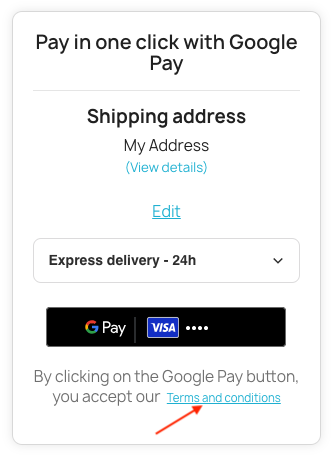
Terms and Conditions Page Selection
In the "Button Settings" tab, you can choose the CMS page containing your terms and conditions of sale and particularly the use of the Google Pay service (the link will be displayed under the Google Pay button).
4/ Tests
After configuration:
- Make a test order in test mode (in test mode, the bank account registered on the Google account used is not charged)
- Verify that the transaction appears in your Stripe dashboard
- Test the automatic refund process
- Once all tests are validated, make sure you have filled in your Google Pay Merchant ID (optional in test mode but mandatory in production) and disable test mode in the "Basic Settings" tab to switch to production: