How to create my X (formerly Twitter) app?
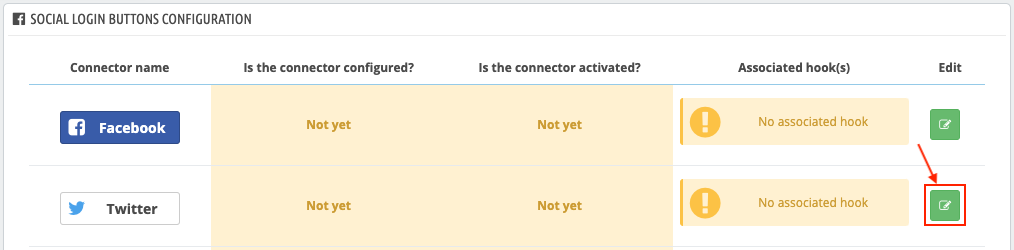
To set a Twitter connector on your PrestaShop website, first go to the configuration of your Social Login module and click the "Social login buttons configuration" tab. On the line of the Twitter connector, click on the pencil button to configure the connector ("edit" column):
Select YES to activate the connector display on your site:
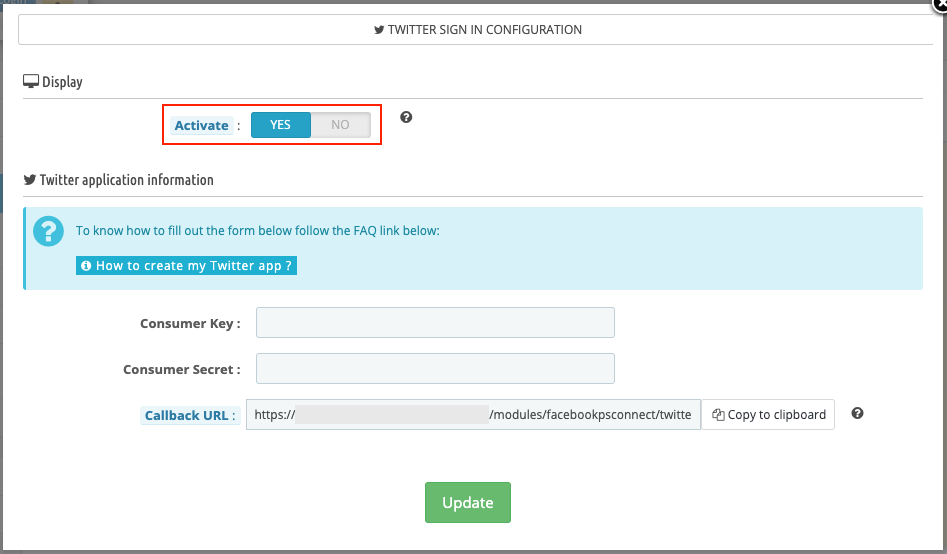
Do not close this configuration window, you will have to fill in other information. For that, you have to create a Twitter app. Follow the following process:
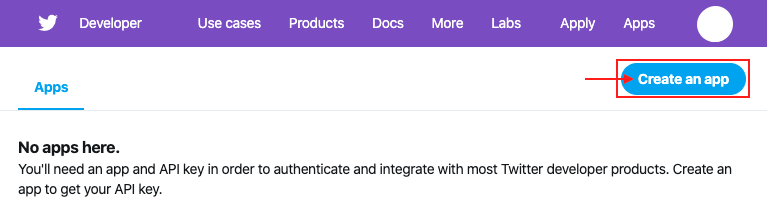
In another tab, reach the Twitter for developers interface and log in with a Twitter account.
Click on "Create an app" in the top right corner:
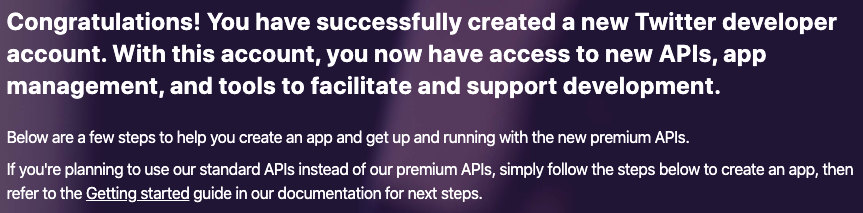
If this is the first time you are creating a Twitter application (or you haven't created one in a long time), you should see the following screen appear:
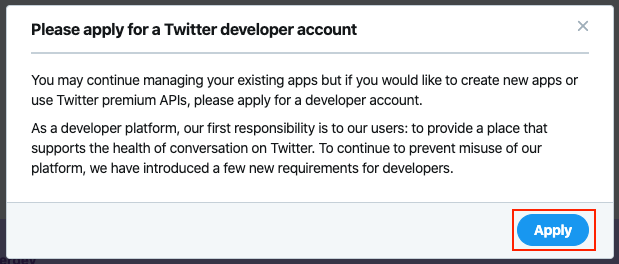
You are told that in order to create a new Twitter application, you must apply for a developer account. Click on "Apply".
If you do not see this screen it means that you have already obtained a developer account and in this case, skip the following steps and go directly to the configuration step of your new application.
On the first step of your application, indicate the main reason for your use of Twitter developer tools. For example, as you will allow Twitter users to connect to your site using their credentials, we suggest you select "Building tools for Twitter users" :
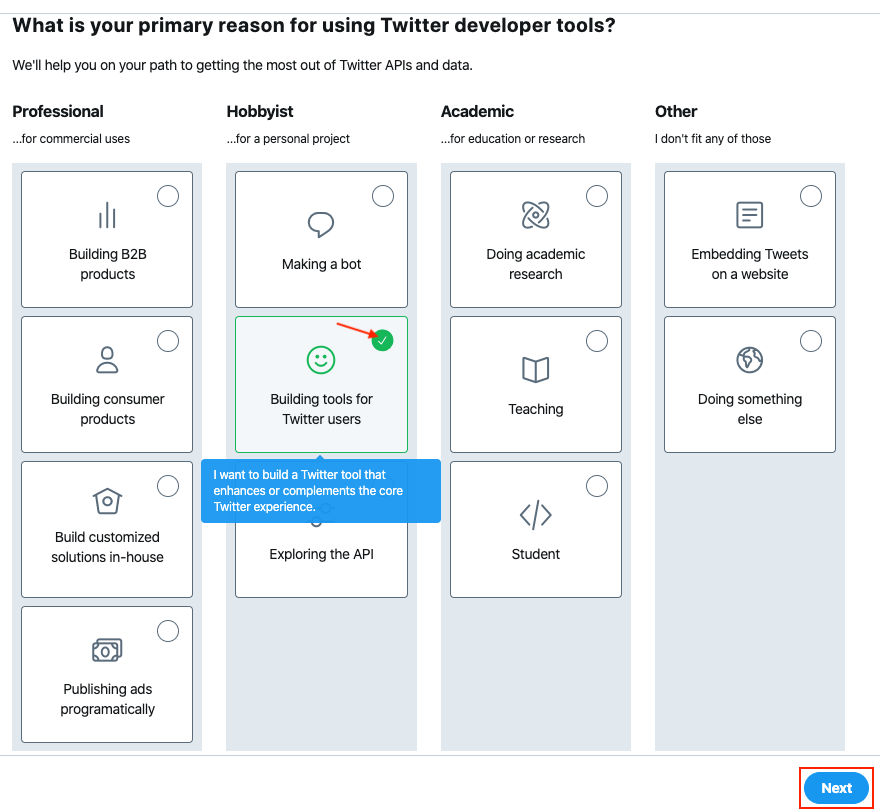
Click on "Next".
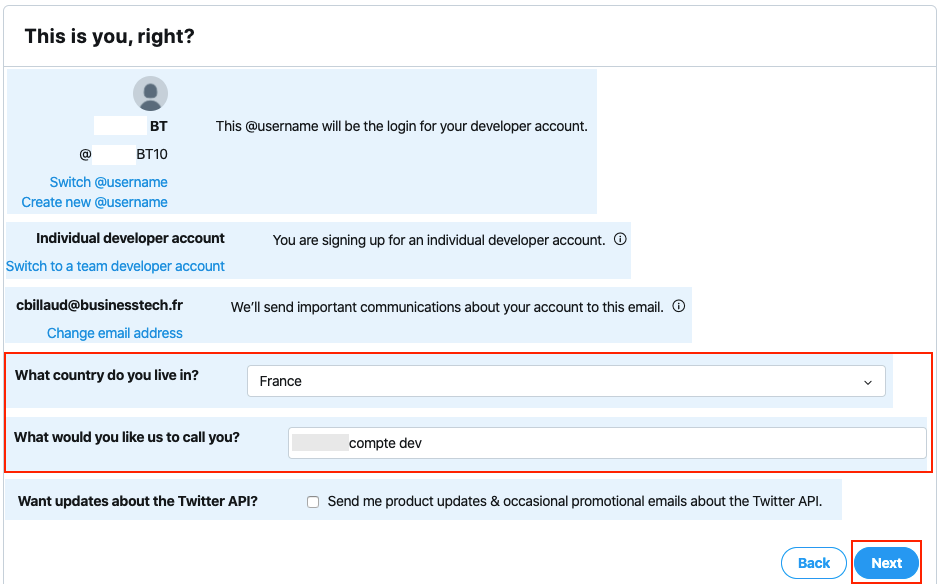
Check your information, select the country you live in and give your "developer" profile a name:
Then you are asked to describe how you will use your users' Twitter data.
Copy the following text:
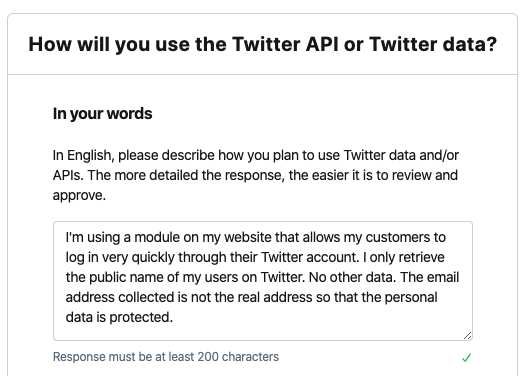
You can copy/paste it directly from there :
I'm using a module on my website that allows my customers to log in very quickly through their Twitter account. I only retrieve the public name of my users on Twitter. No other data. The email address collected is not the real address so that the personal data is protected.
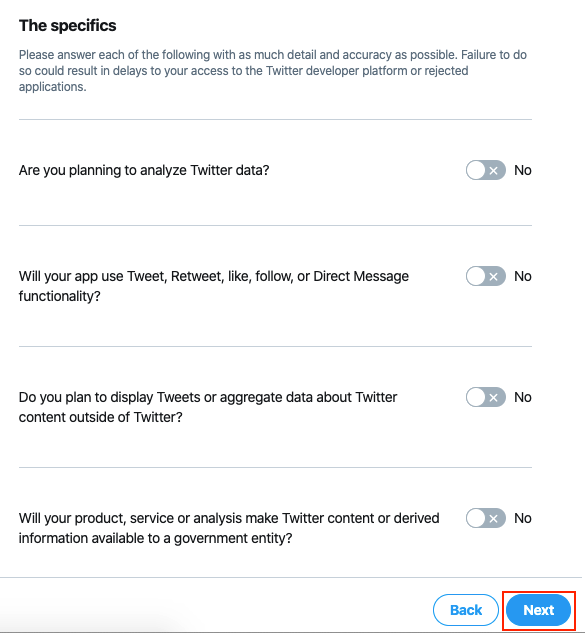
Then select "No" for each question that follows and click "Next" :
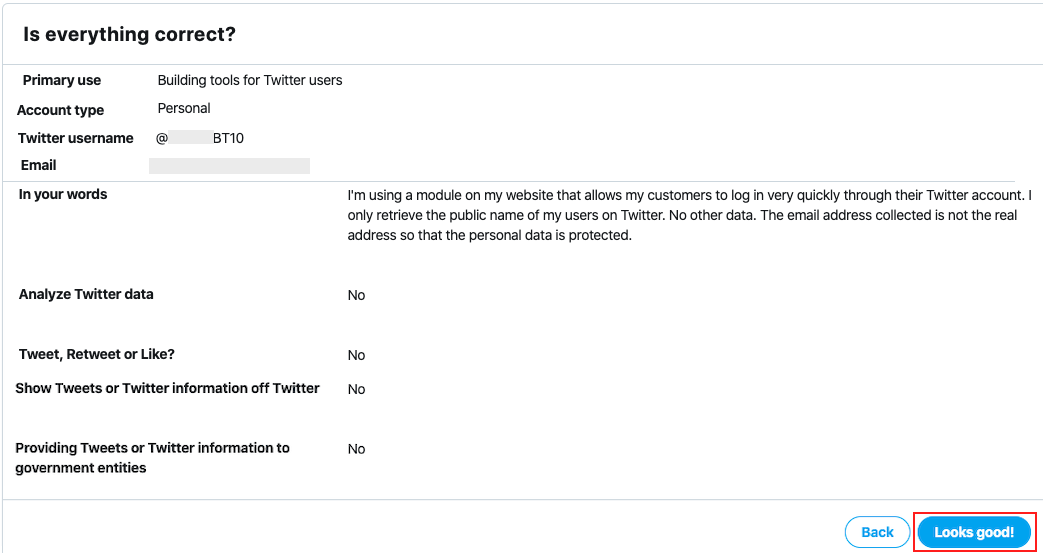
Check the information again and click on "Looks good!" :
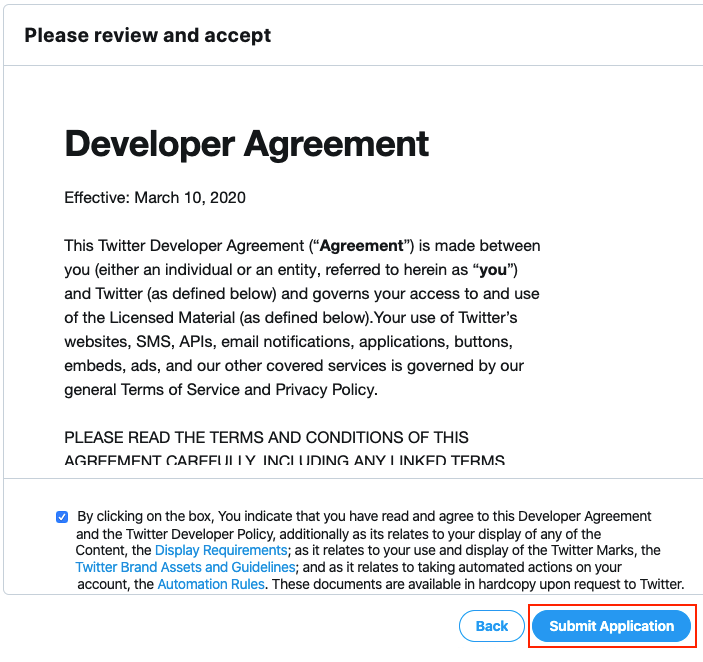
Read the document, check the box to indicate that you have read and accept the contract and click on "Submit Application" :
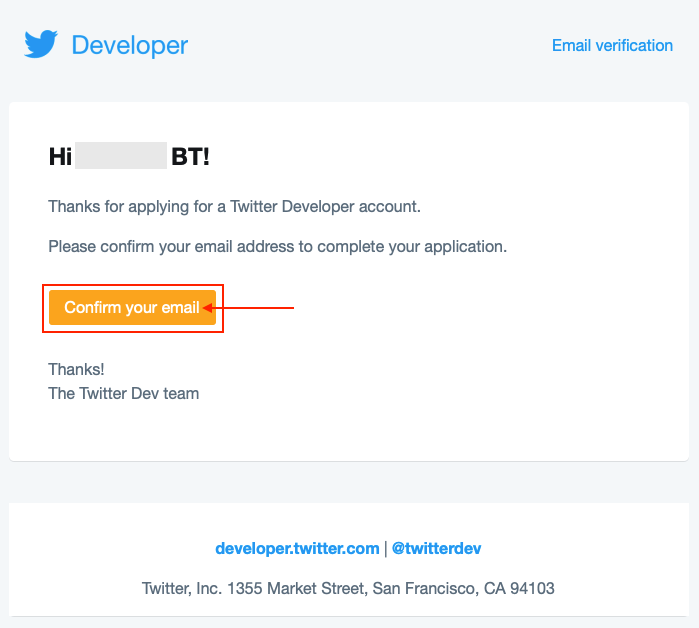
You will receive an e-mail to confirm your e-mail address. Click on the link provided inside. Your application should be validated instantly and you should be able to create your new app right away:
Click again on "Create an app" at the top right of the screen :
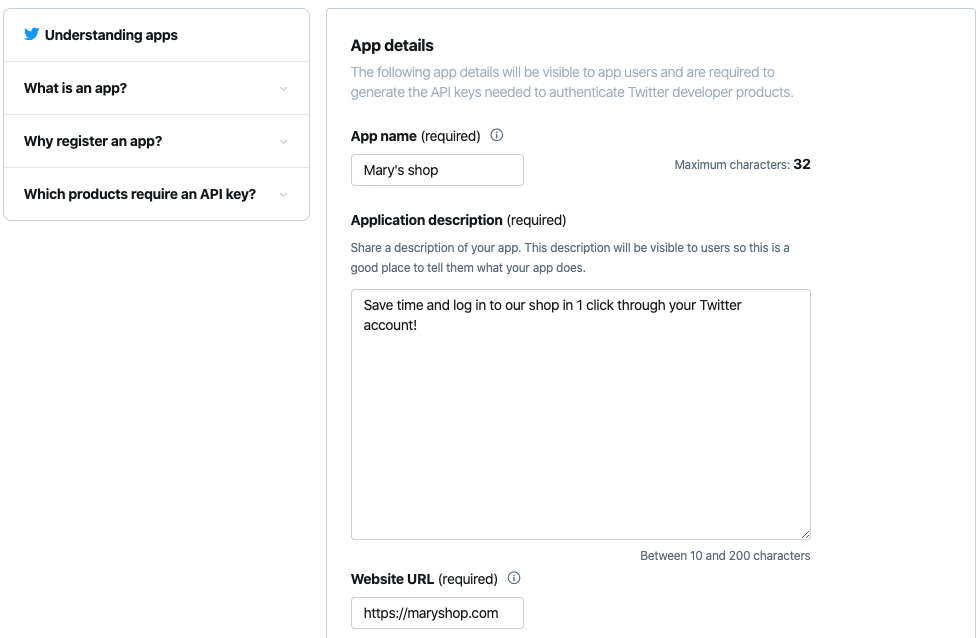
Fill in the information that will appear on the "consent screen" that your users will see when they want to connect with their Twitter account. First, give your application a name. We recommend that you put the name of your shop so that your customers understand right away who is asking for authorization to collect some of their data. Then describe what the application allows, for example "Save time and log in to our shop in 1 click through your Twitter account!". Finally fill in the URL of your shop :
This app will allow your users to sign in with Twitter, so you need to check the "Enable Sign in with Twitter" checkbox:

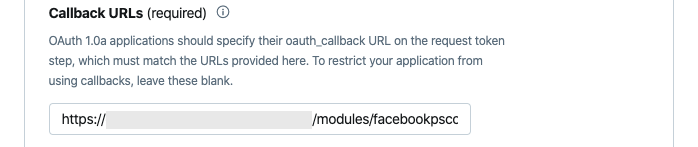
In "Callback URLs" field you have to copy and paste the callback URL that is given in the module. This is the URL of the page to which your customers will be redirected after clicking on the Twitter login button.
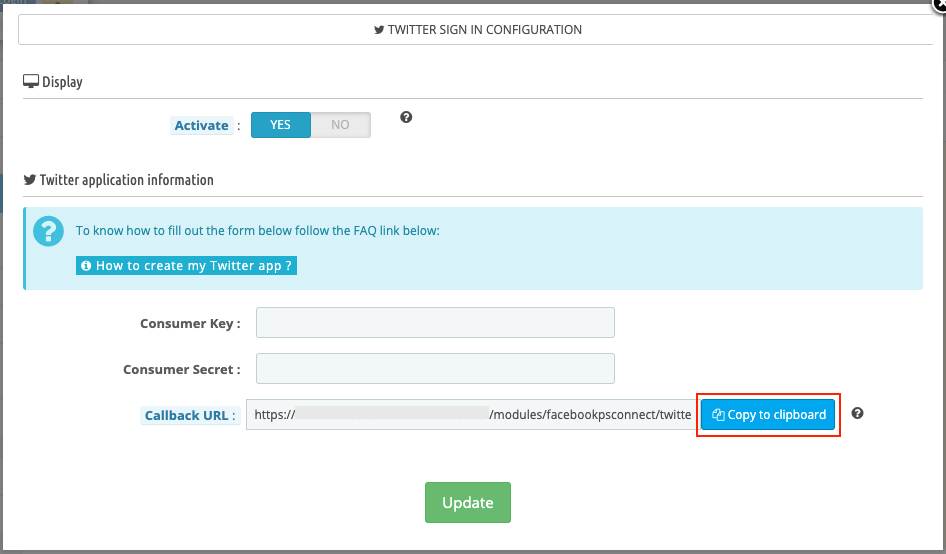
Return in the Twitter connector configuration in the module and on the "Callback URL" field click "Copy to clipboard":
Return to your application's configuration and paste this URL :
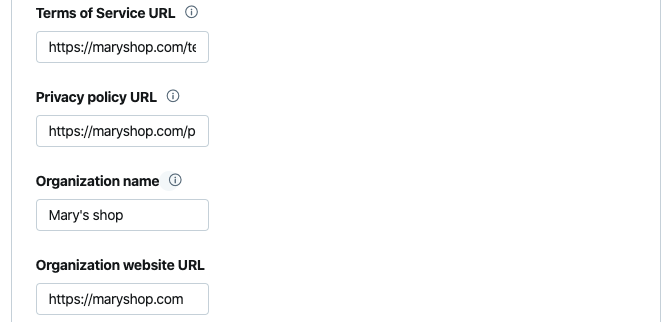
Indicate the URL of your Terms of service, the one of your Privacy policy, the name of your shop and its URL:
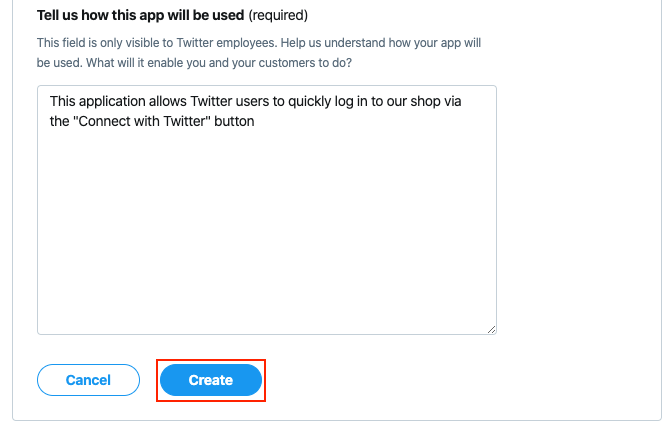
The last field is for Twitter employees: explain to them what this application is for (it needs at least 100 characters). For example: this application allows Twitter users to quickly log in to our shop via the "Connect with Twitter" button. Finally, click on "Create" :
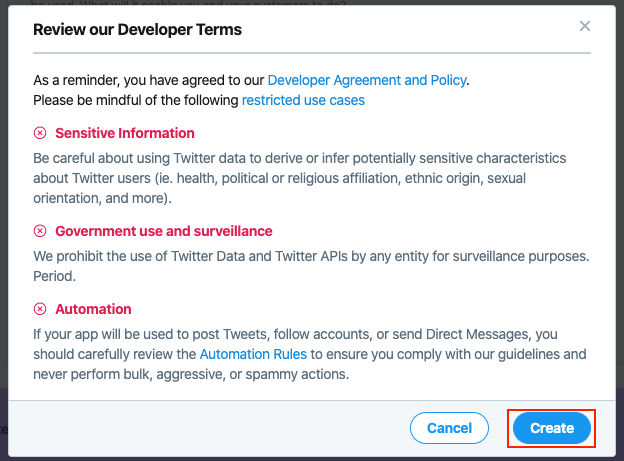
Accept the terms of use by clicking on "Create" :
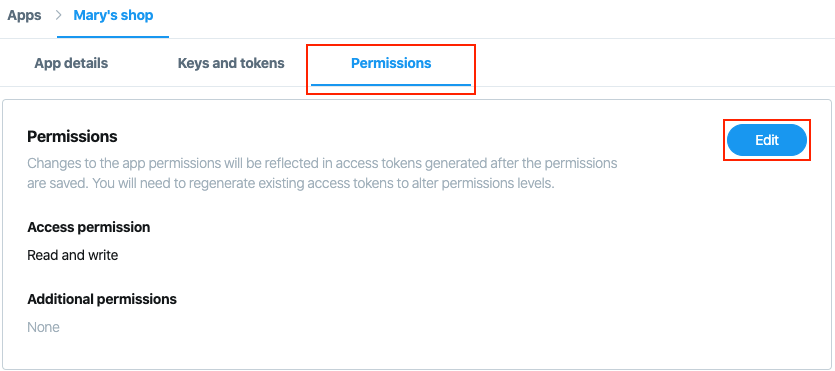
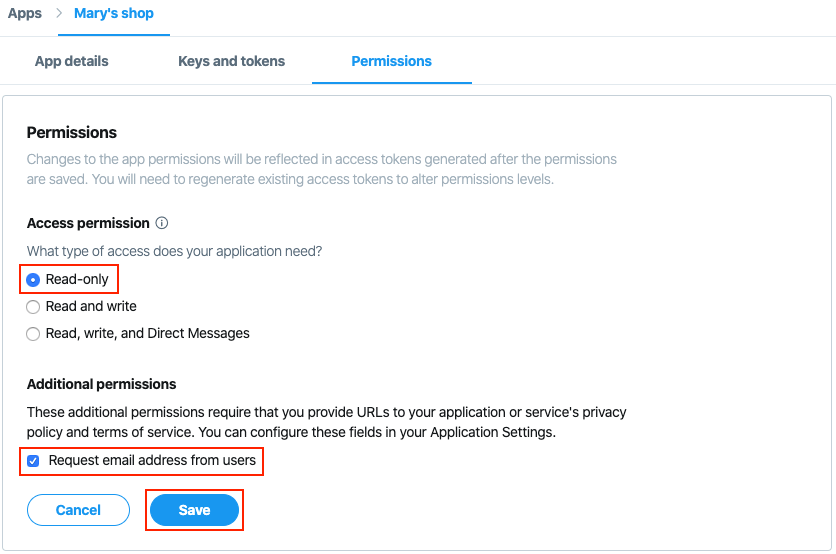
Then click on the "Permissions" tab and then on "Edit" :
In "Access permission" check "Read-only" and in "Additional permissions" check "Request email address from users". Then click on "Save":
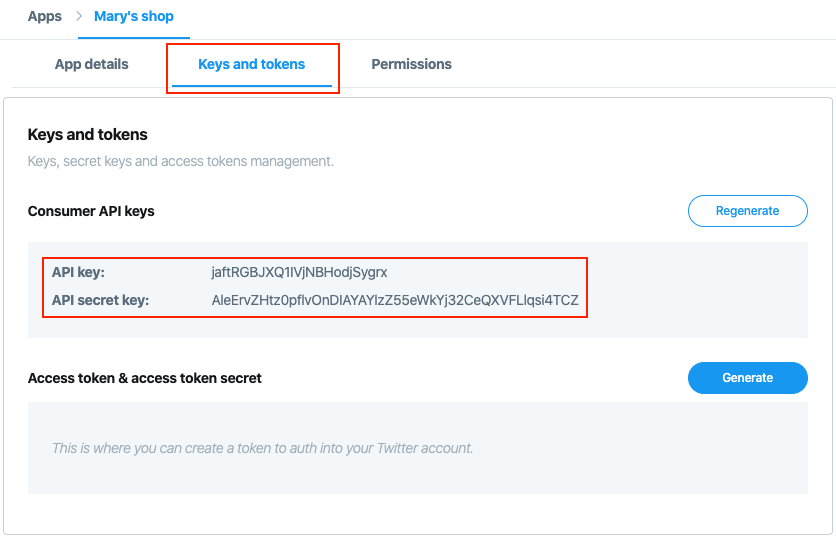
Now click on the "Keys and tokens" tab and copy the API key and the API secret key into the connector configuration in your back office :
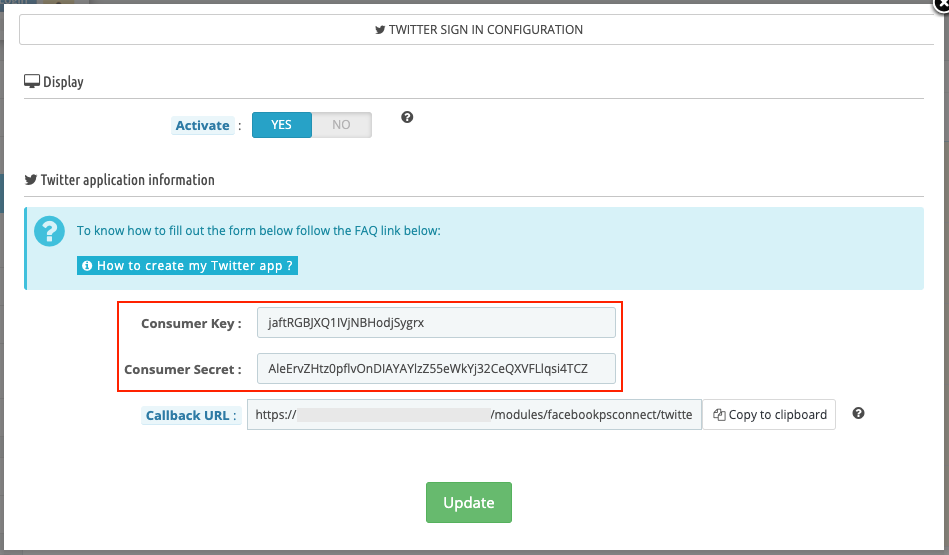
Check that the display of the connector on your site is enabled (see the very beginning of this FAQ) and click on "Update".
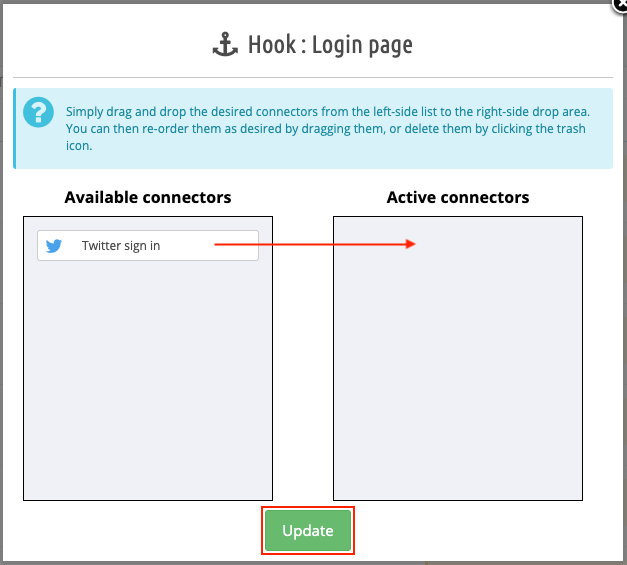
Still in the module, click on the "Connectors Position Management (native hooks)" tab and choose the desired location for your Twitter connector, for example the "Login Page" hook(*). Click on the pencil icon in the "Edit" column:

Drag and drop the Twitter connector (while holding the mouse down) into the "Active Connectors" column, then click "Update":
Do the same for all the positions where you want to see the Twitter connector.
(*)This is just an example but, of course, to define the connector position more precisely, you can use the advanced position tool.
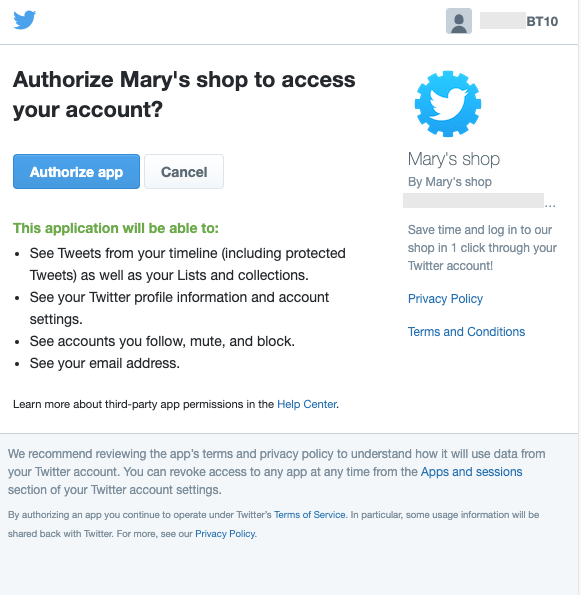
Finally go to your site and test the Twitter login button:

If a screen like the one below appears, it means that the application works: