How to create my Facebook app?
To set a Facebook connector on your PrestaShop website, you first have to create a Facebook app. To do that, follow the procedure:
Go to the Meta for developers website and log in using your Facebook profile.
Click on "My apps" in the menu on the top right:

and then click on "Create App":

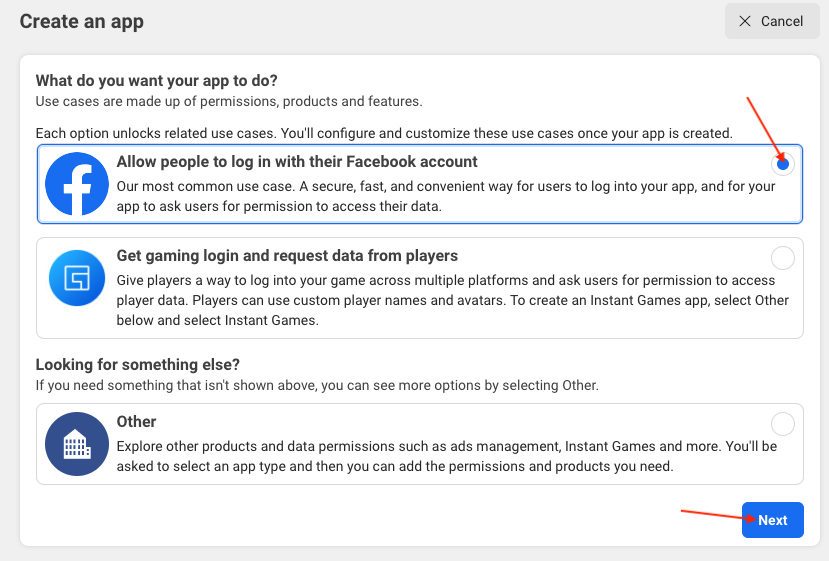
You'll be asked what the purpose of this application is going to be. Select "Allow people to log in with their Facebook account", then click on "Next":
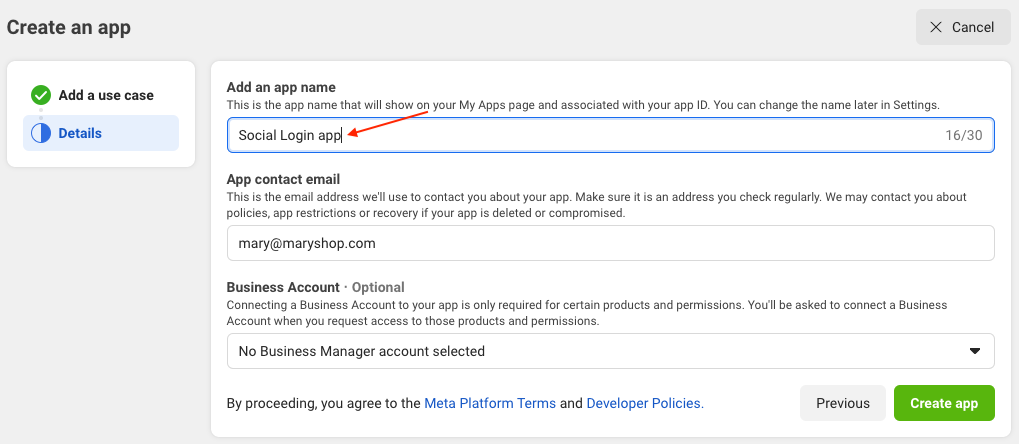
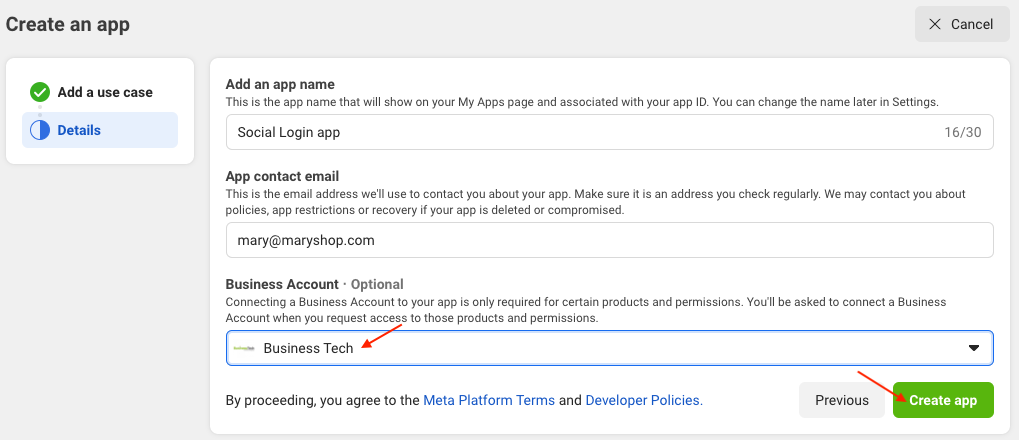
Choose a name for this application to find it among others in your "Meta for developers" account. Be careful, some terms like "Facebook" are not allowed for application names. For example, you can write the name of your shop or the name of the module:
Enter the email address where Facebook can contact you about your application:
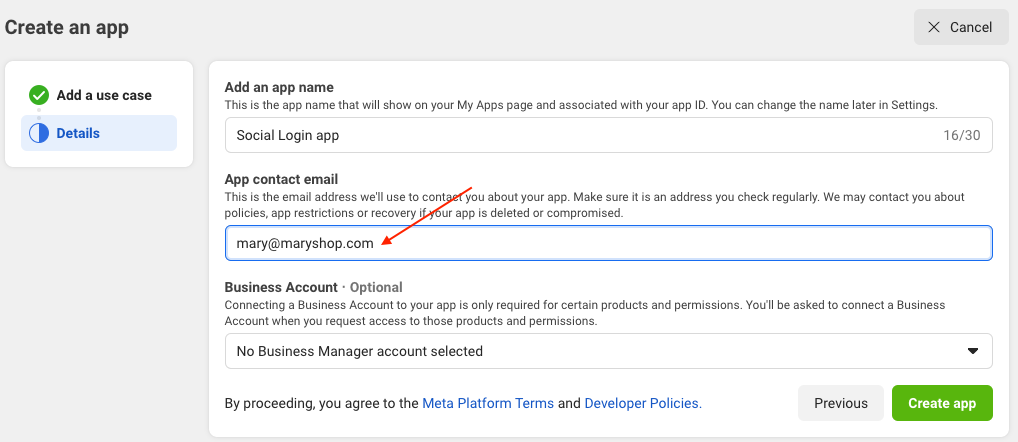
If you have a Business Manager account, select it and click on "Create App":
Facebook may ask you for your Facebook password again for security reasons. Enter your password and validate.
You have just created your application. You will now have to set it up and link it to your Social Login module.
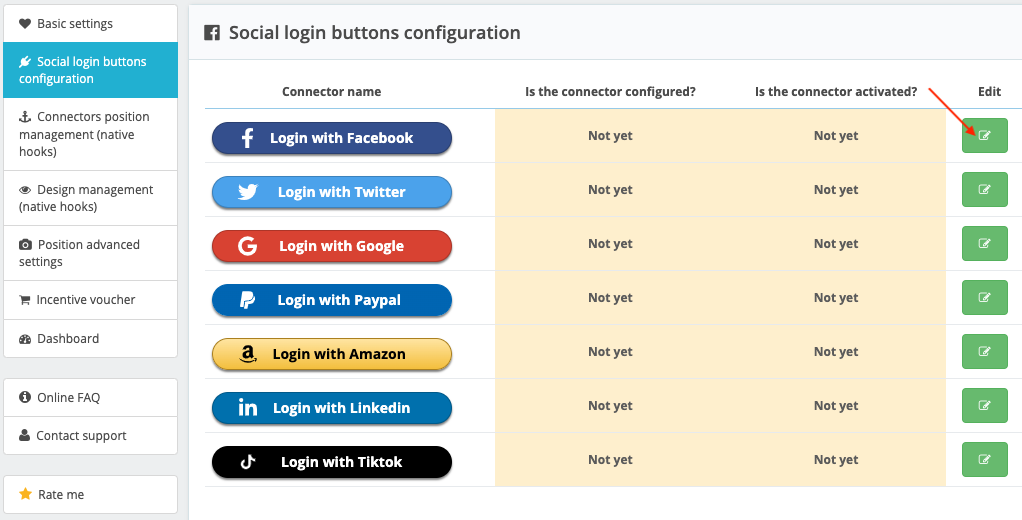
In a new browser tab, go to your Social Login module configuration and click on the "Social login buttons configuration" tab. On the line corresponding to the Facebook connector, click on the stylus to access the connector configuration ("Edit" column):
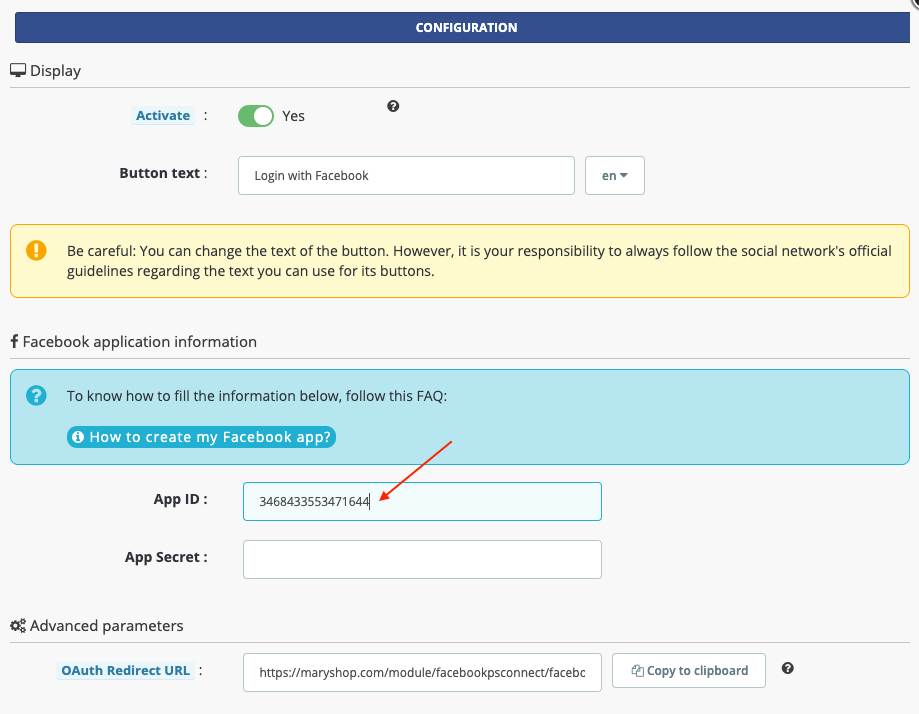
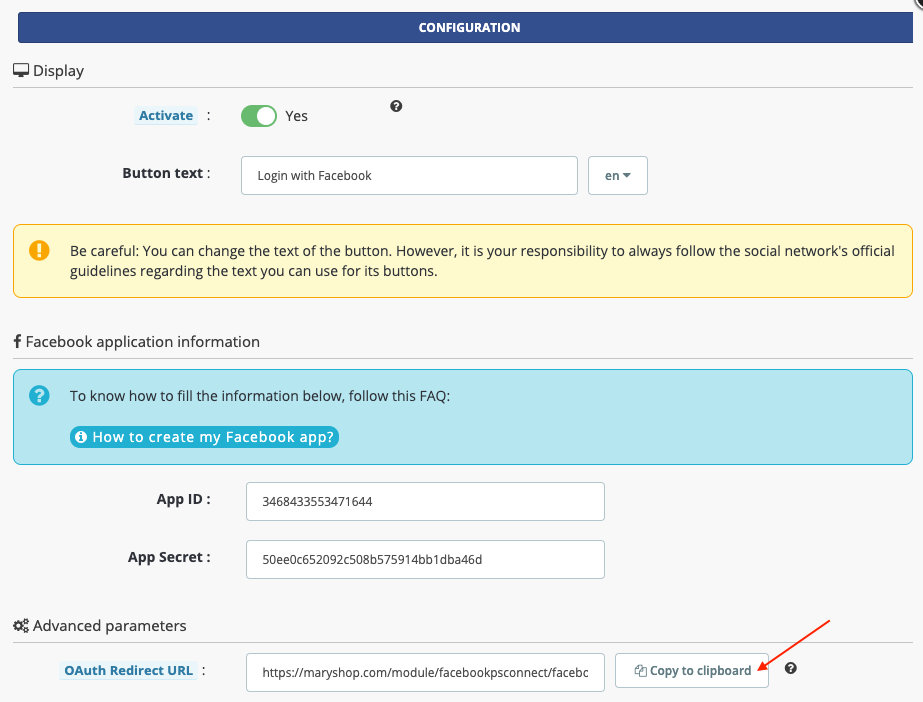
Select YES to activate the display of the connector on your site:

Fill in the button text, if it is not filled in the language of your site, and translate it into all the languages available on your site.
Warning: You can change the text of the button. However, it is your responsibility to always respect the official guidelines of the social network regarding the text you can use for its buttons. We therefore advise you to check, for each language of your site, the official text requested by Facebook.
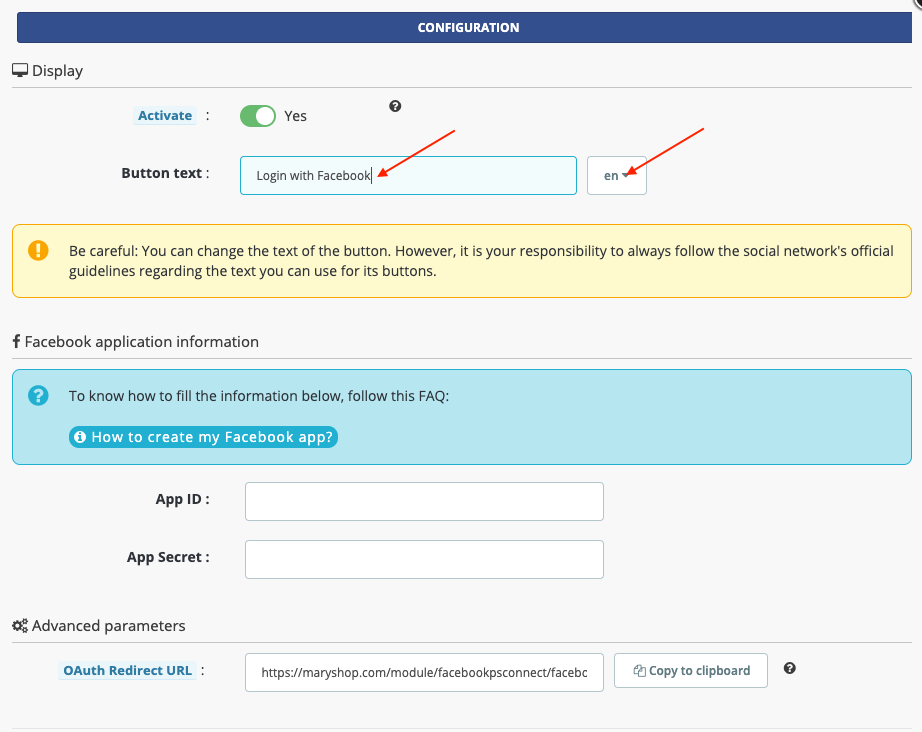
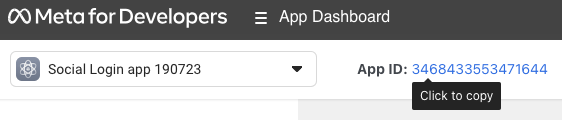
Now go to your Facebook app on the Meta for developers site. Click on the app ID at the top left to copy it and paste it into the Facebook login button configuration on your site:
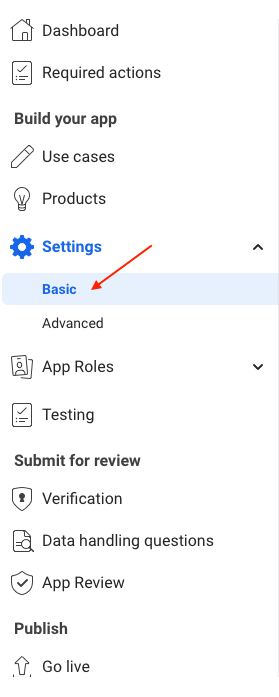
Then go to the menu on the left and click on "Settings" -> "Basic" :
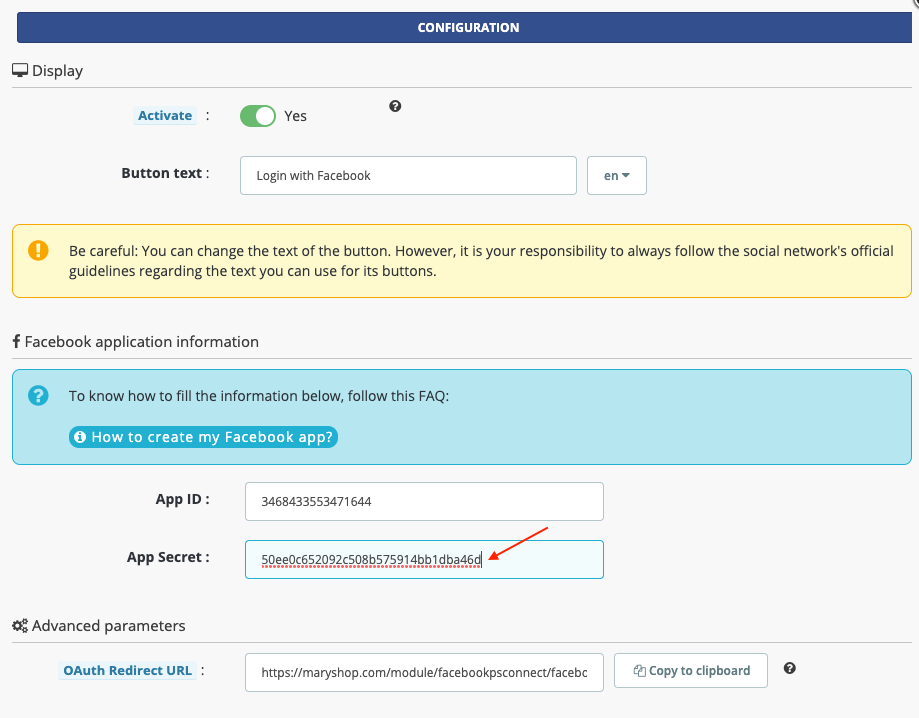
Click on "Show" to get the app secret key. Facebook should ask you to re-enter your Facebook profile password to get the key. Enter your password, then select the secret key and copy it.

Paste it into the module, just below the app ID:
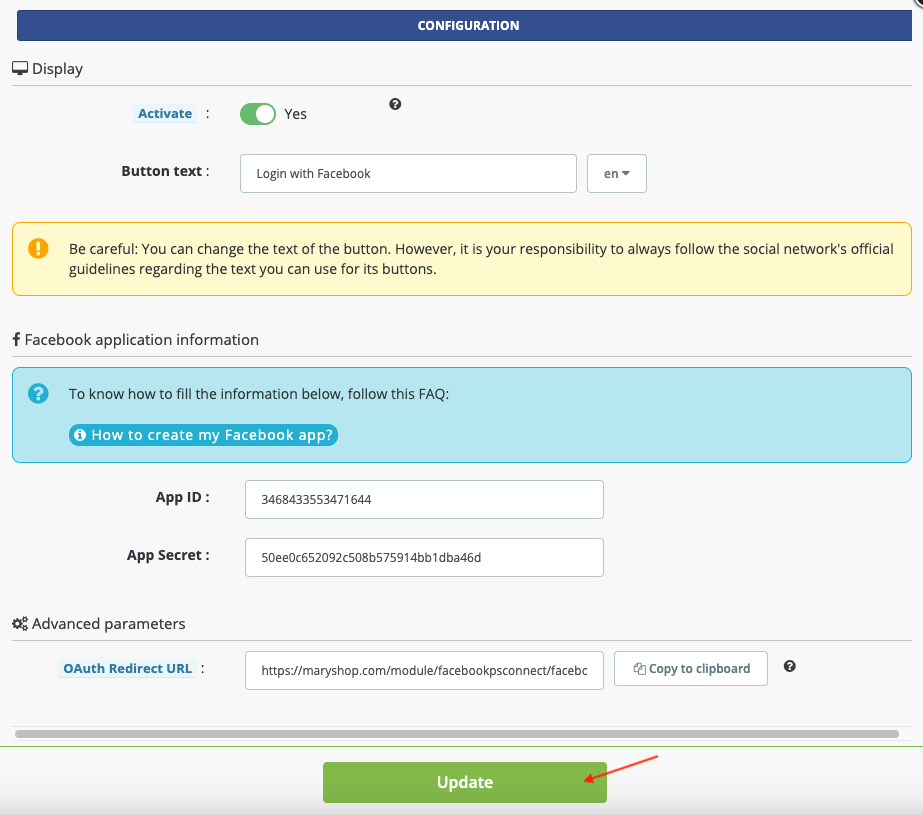
Click on the "Update" green button of the module to save the identifiers of the application you just entered:
Return to your app configuration on the Meta for developers website.
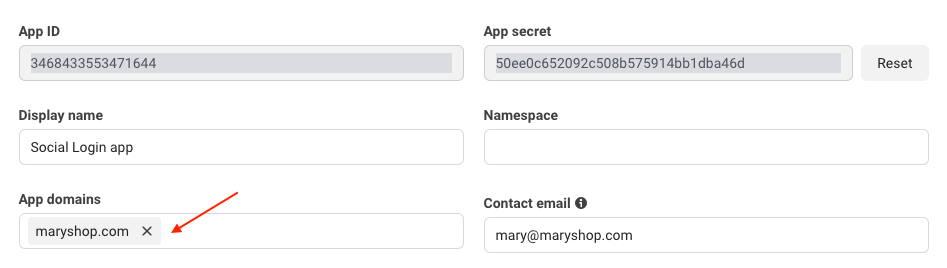
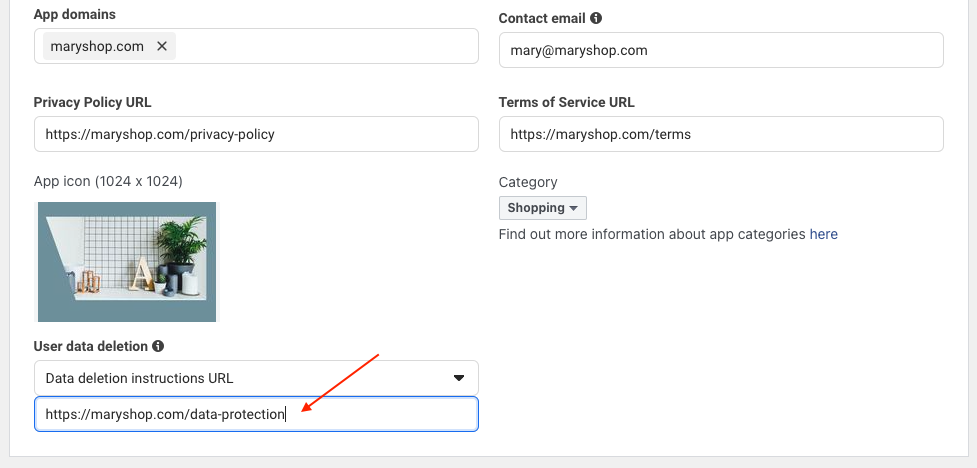
Leave empty the "Namespace" field. In "App Domains" enter the domain of your PrestaShop site: in the URL of your online shop, this is what is after https:// (and, if present, after "www").
For example, if the URL of your website is https://maryshop.com, then the domain is "maryshop.com".
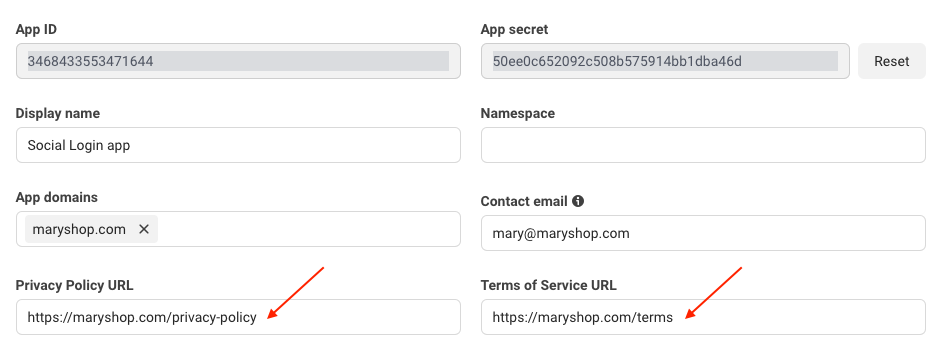
In "Privacy Policy URL" and "Terms of Service URL" fields, copy and paste the URLs of the corresponding pages of your site (this can be the same URL):
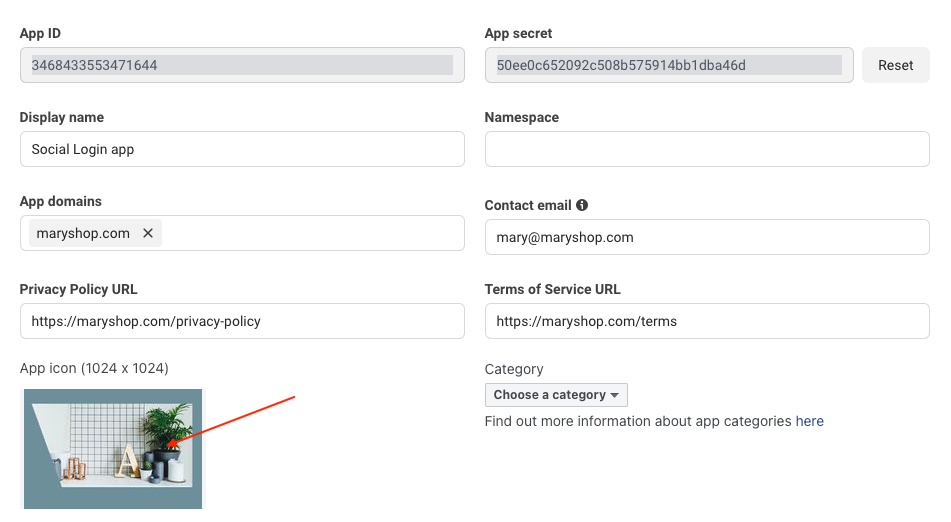
Download your app icon. You can upload a JPG, GIF, or PNG file. The size of the image must be between 512 x 512 and 1024 x 1024 pixels. File size limit 5 MB.
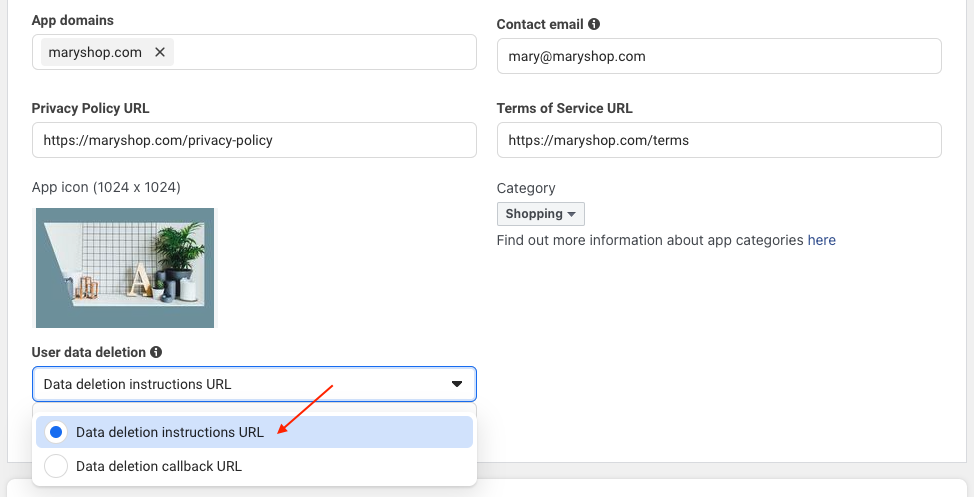
Select the category "Shopping":
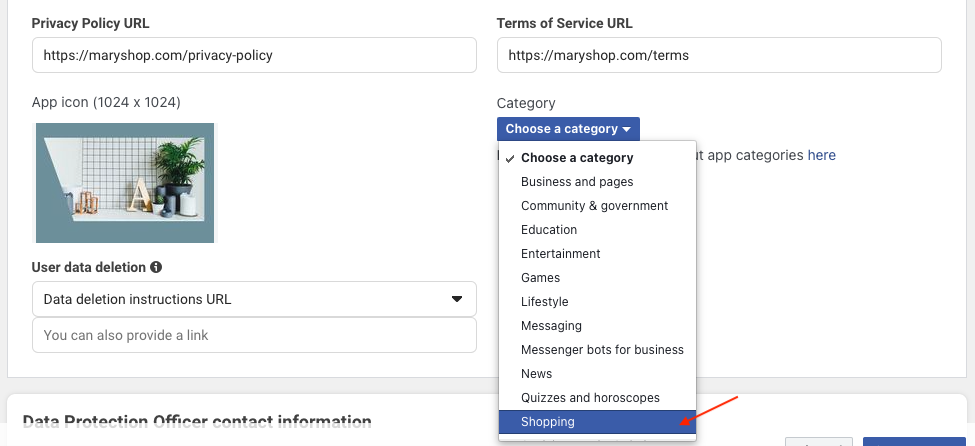
In "User Data Deletion", select "Data Deletion Instructions URL" and copy and paste the URL of your site that explains how a user can request the deletion of his data on your site (e.g. the URL of your TOS if you have detailed in it the instructions to request the deletion of personal data):
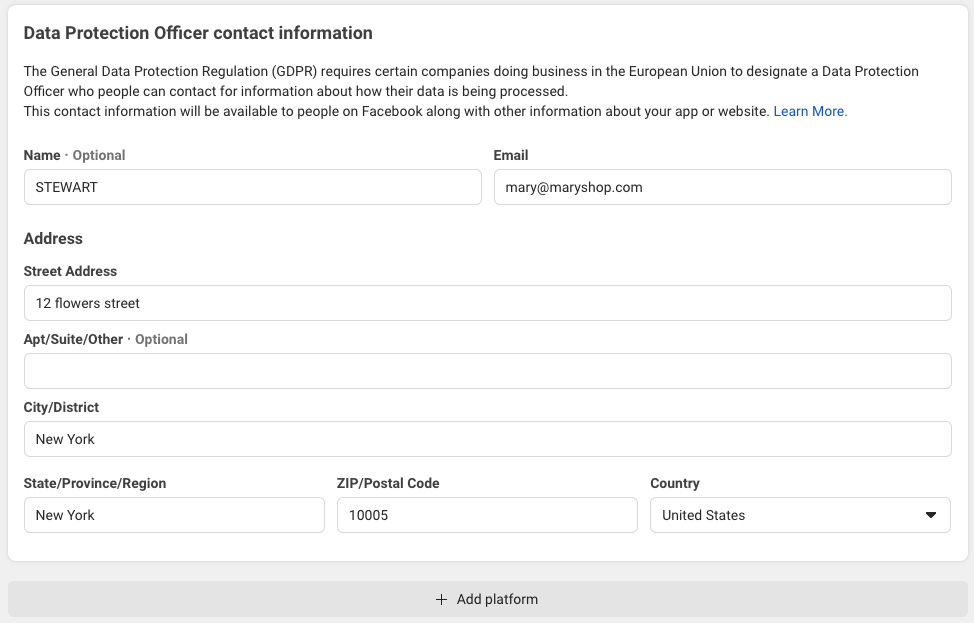
If your business is subject to the GDPR European regulation (General Data Protection Regulations), please provide the contact details of the person responsible for processing personal data (DPO) in your company:
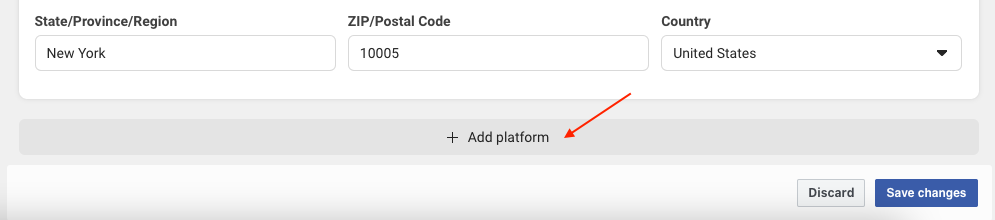
Click on "Save Changes" at the bottom of the page:

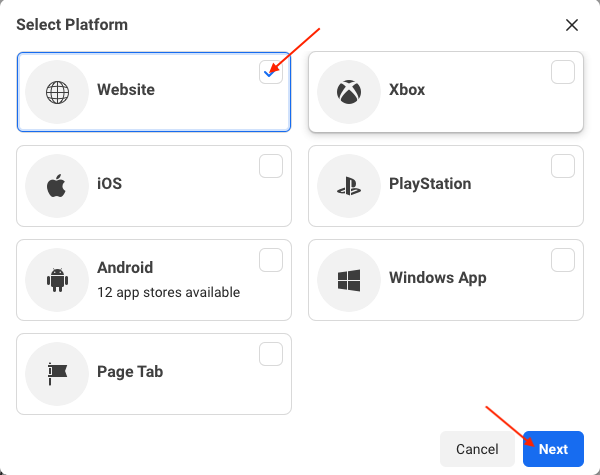
You will now indicate that you are using this app for your website. Click on "Add Platform" at the bottom of the page:
Select "Website" and click on "Next":
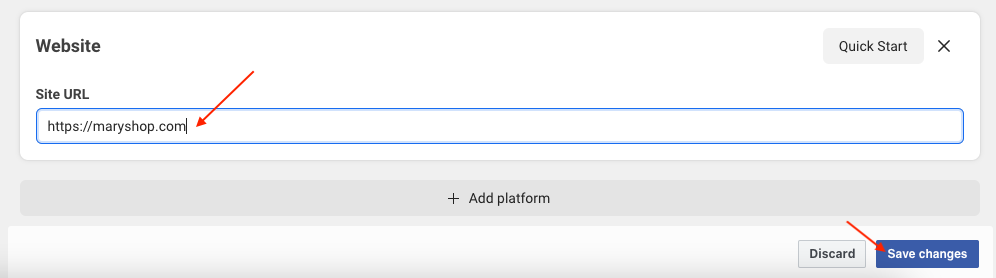
In the "Website" box that appears, indicate the URL of your website and save the changes:
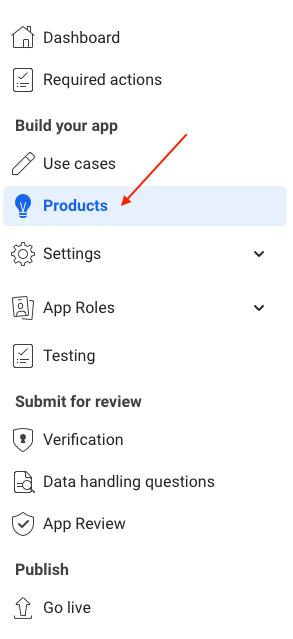
Now go to the menu on the left and click on "Products":
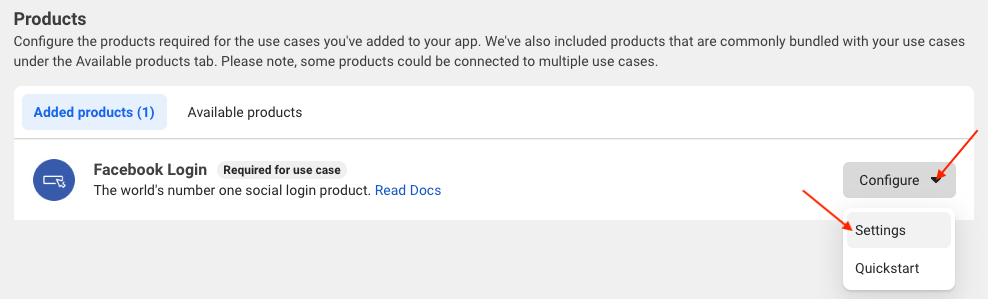
On the "Facebook Login" product already pre-selected, click on "Configure" then "Settings" :
Go back to the login button configuration in your back-office and copy the redirect URL by clicking on "Copy to clipboard" :
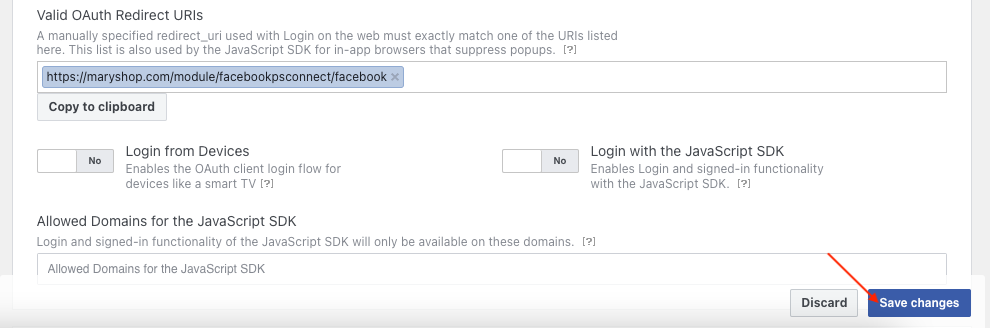
In your app settings, paste the redirect URL in the "Valid OAuth Redirect URLs" field:
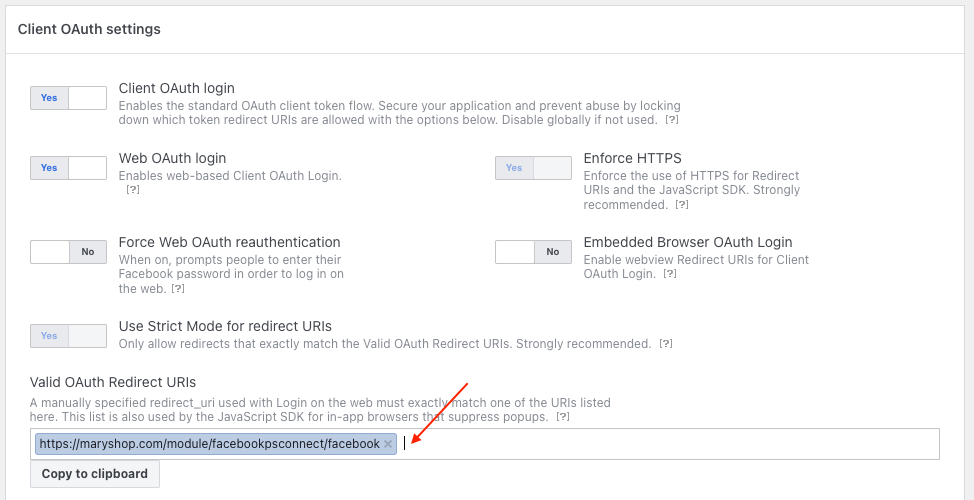
Click on "Save Changes":
If you haven't already done so, click here to make your business verified by Facebook. Since February 1, 2023, business verification has been mandatory to enable your application to ask your visitors for authorization to access certain data in their Facebook account, in order to create their customer account or log in.
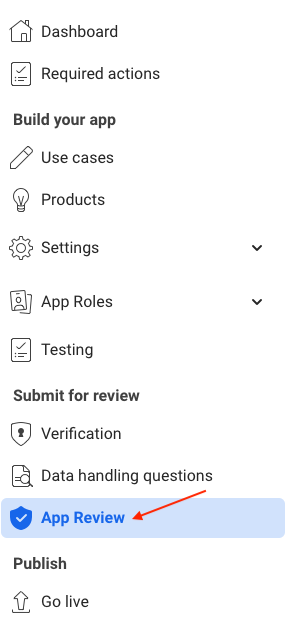
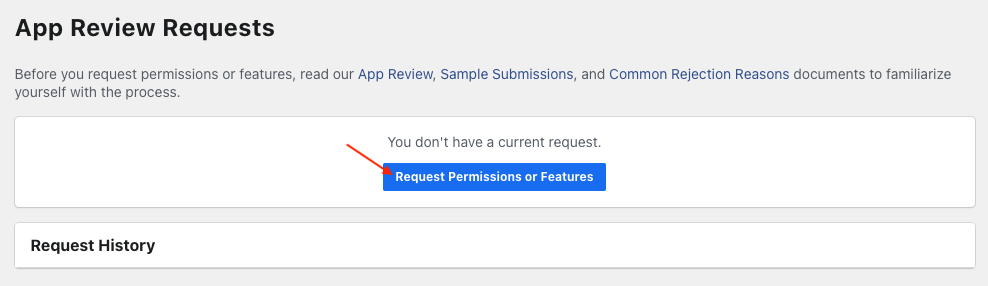
Next, go to the "App Review" tab:
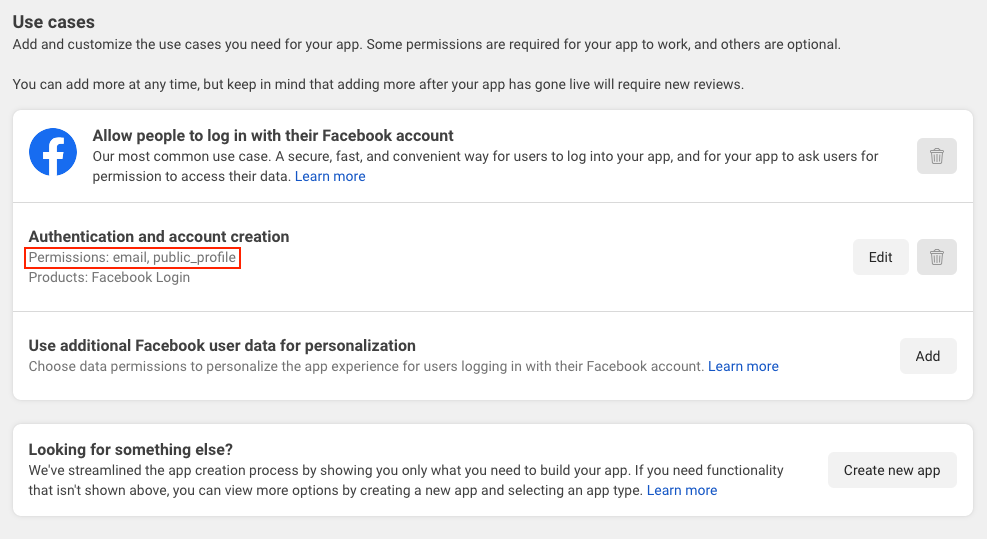
To be able to retrieve the email addresses and public information of the login button users, you will have to grant your application "advanced" access to the "email" and "public_profile" features. To do this, click on "Request Permissions or Features":
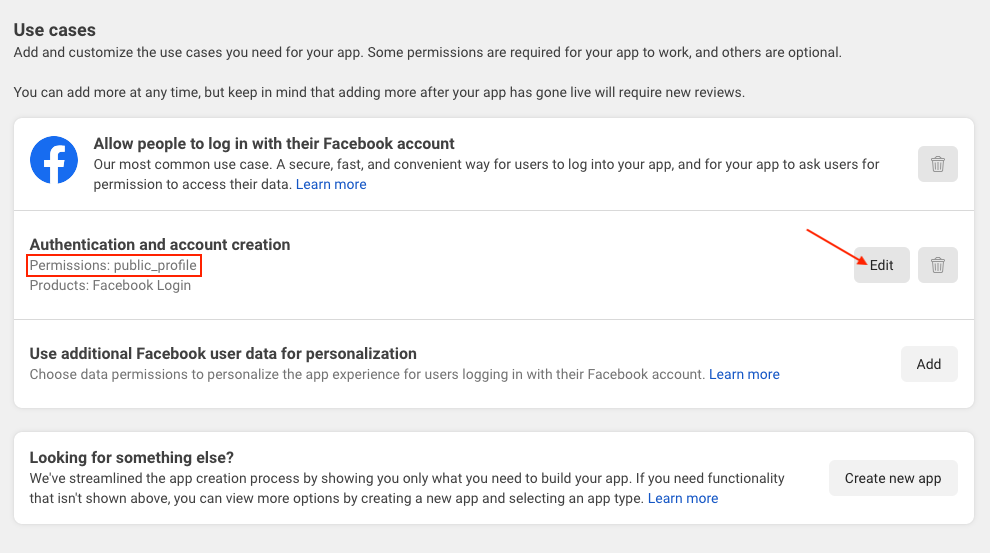
For the moment, you should only have the "public_profile" permission (automatically granted to all applications), which allows you to request access to public information (last name, first name, birthday) from your users' Facebook accounts, in order to create an account for them on your store.
Click on "Edit" to add the e-mail request:
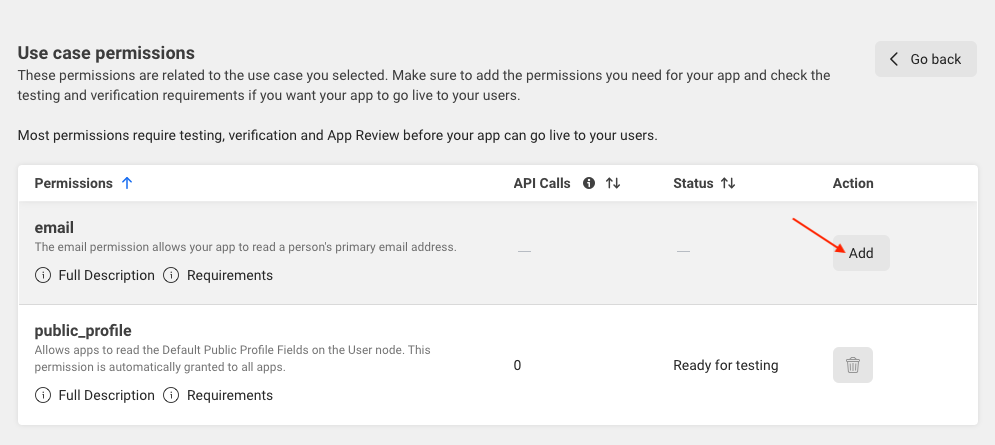
Add the email permission:
Click on "Go back":
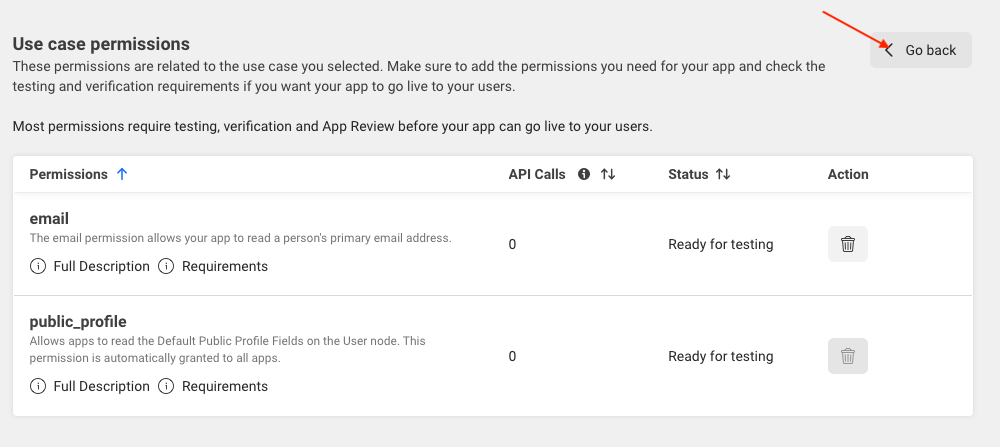
Check that you are now authorized to request access to public information ("public_profile") and e-mail address ("email"):
Return in the module configuration and configure the Facebook login position on your site (thanks to the native hooks or the advanced position tool).
Test the login button to make sure it works, using the Facebook account you used to create the application (only this one will work, as the application has not yet been published and is therefore not accessible to everyone). As an admin of the Facebook application, when you test the Facebook login button on your site with your Facebook profile, you may see a message telling you that you need to have certain permissions approved. Disregard this message (it will not be displayed to your customers), and click on the "Continue as" button:
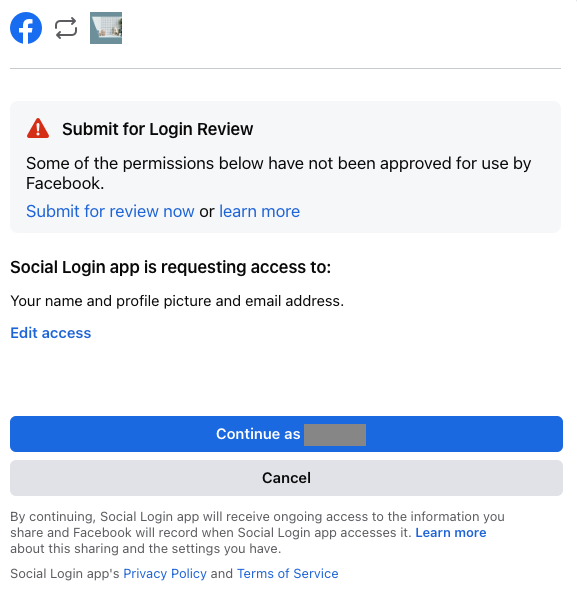
A customer account must be created with the e-mail address, first name, last name and birthday used for your Facebook account.
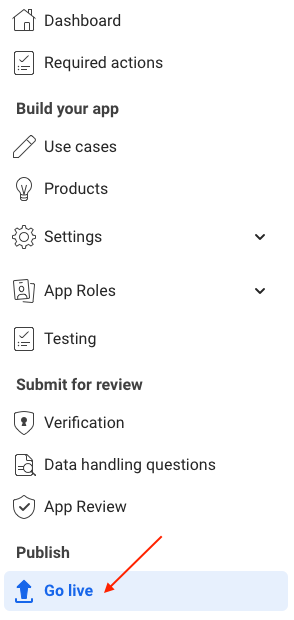
Return to your app configuration on the Meta for developers site. In the menu on the left, click on "Go live" to publish your application and make it accessible to everyone, not just administrators:
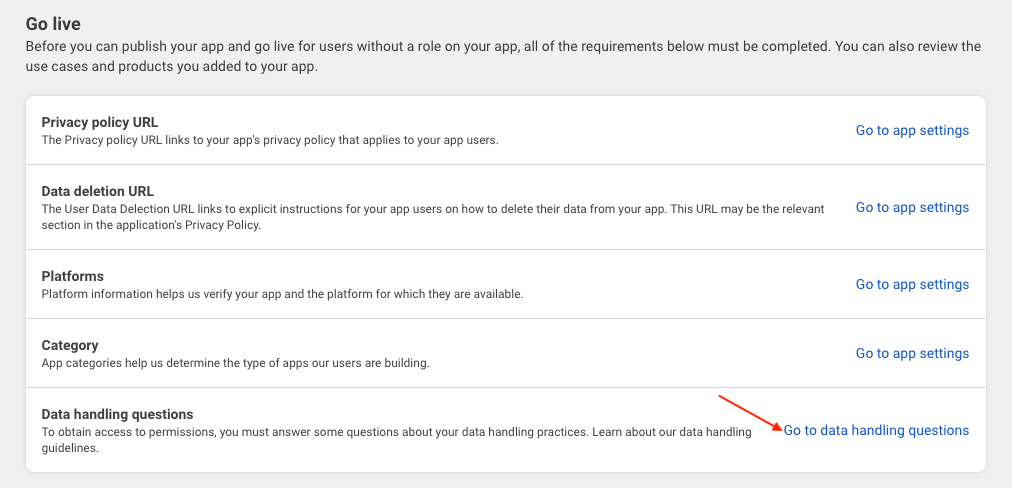
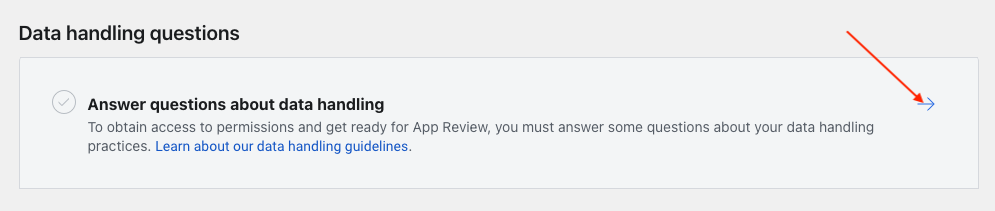
Click on "Go to data handling questions":
Click on "Answer questions about data handling":
Check the boxes to confirm the correct use of the data and click on "Confirm" :

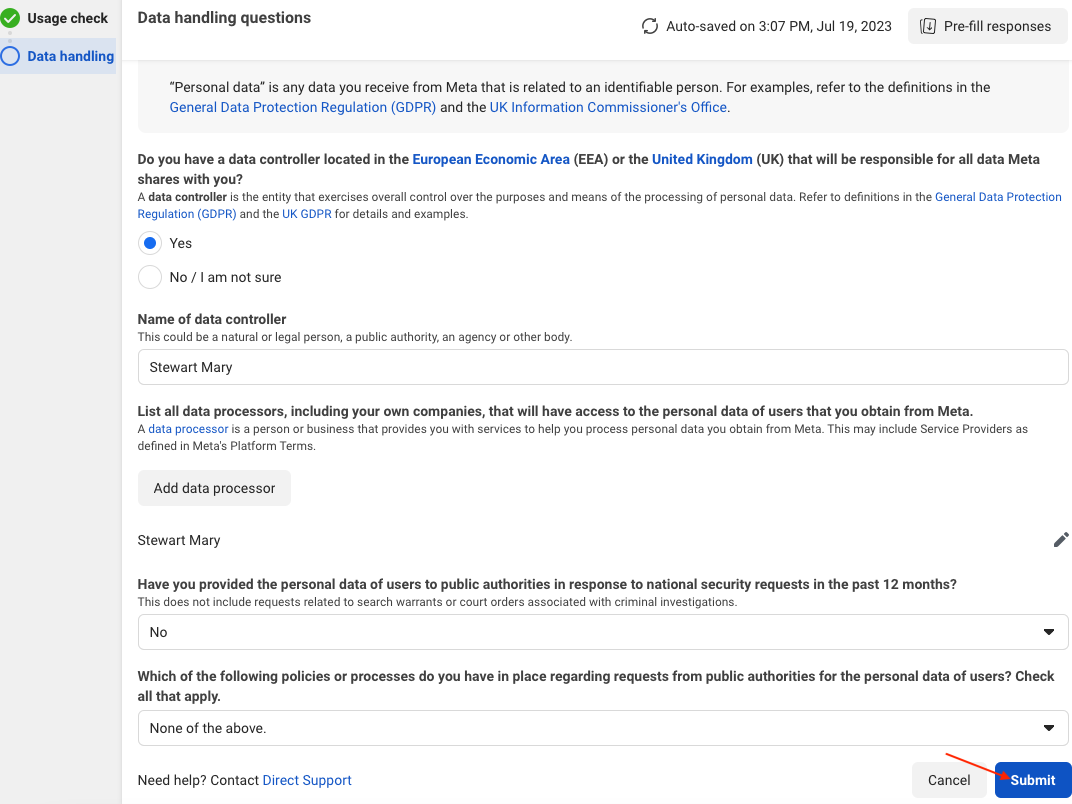
Answer the questions on data handling (don't forget to fill in the name of the data controller if you have one) then click on "Submit":
Click on "Submit" again (Facebook may also ask you for your password again):
Return to the "Go live" tab and click on the blue button :
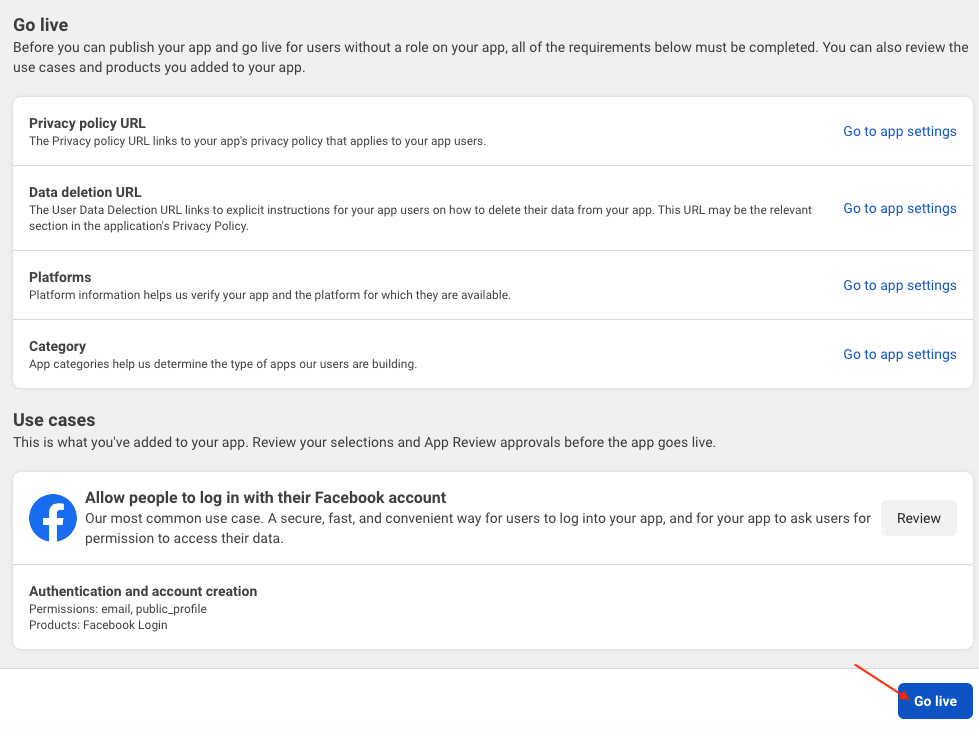
Your application is now public.
Facebook will ask you to complete the data usage control within 3 months. You can do so immediately. In this case, click on the "Required actions" tab:
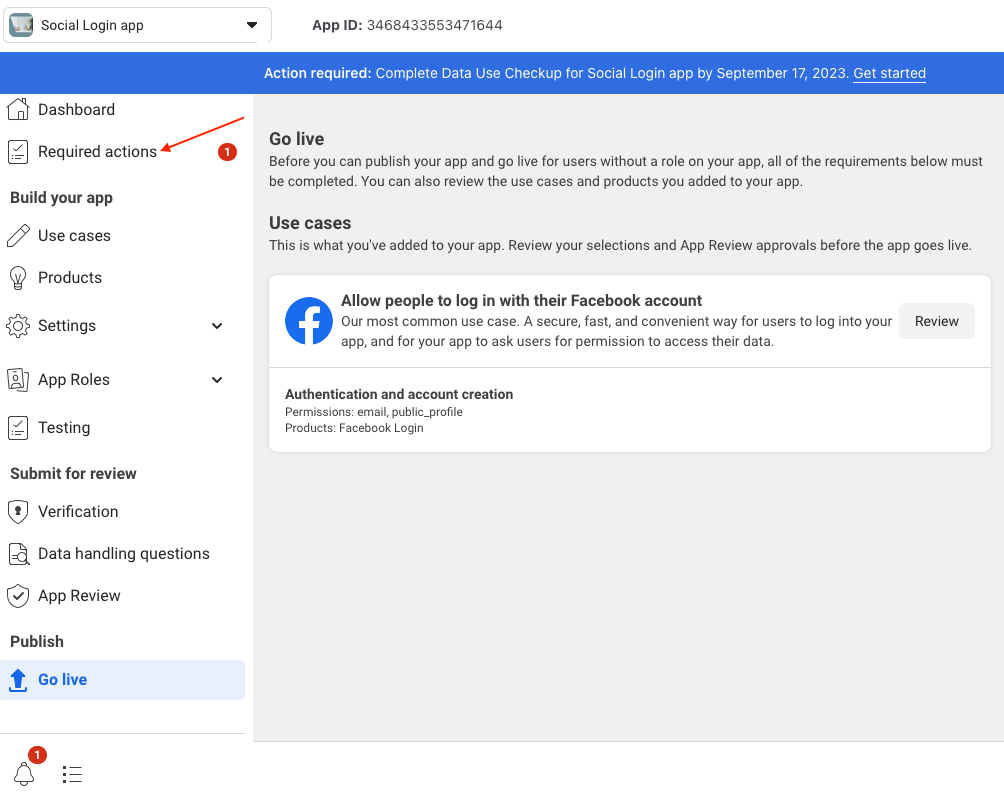
Click on "Get started":

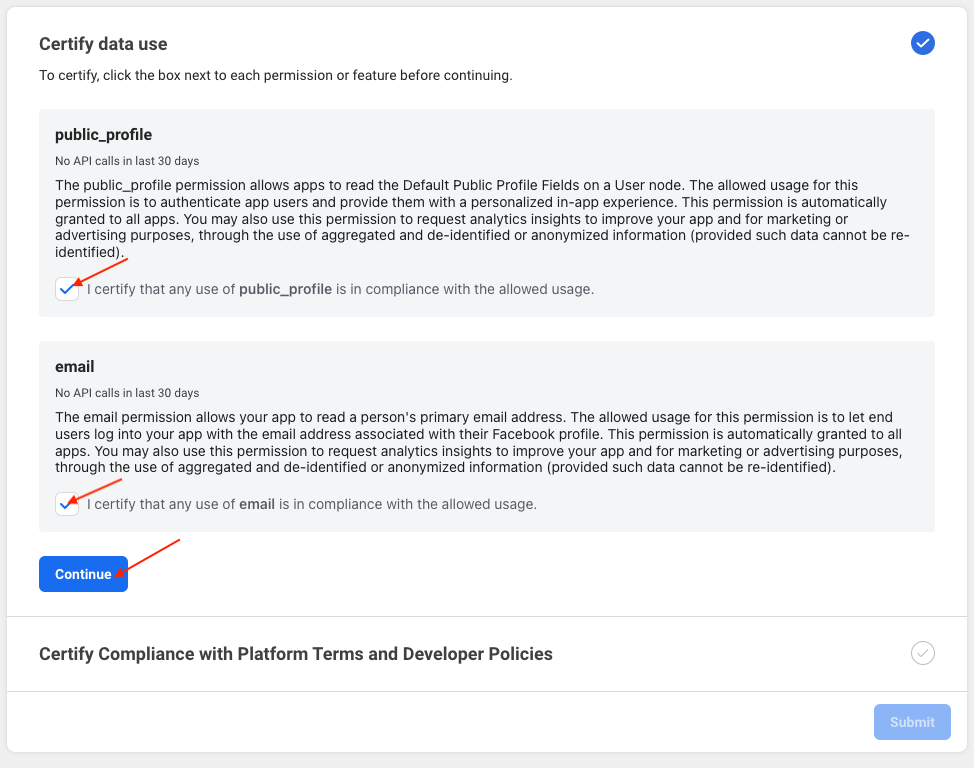
Check the boxes to certify that you are using API calls correctly, then click on "Continue" :
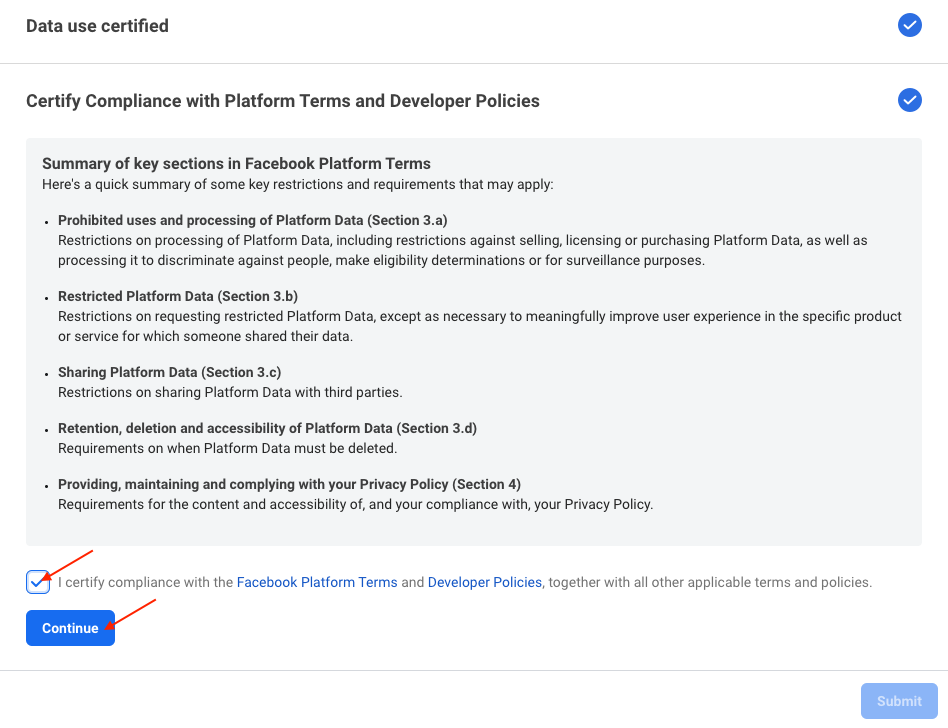
Check the box to certify compliance with the terms of use, then click on "Continue":
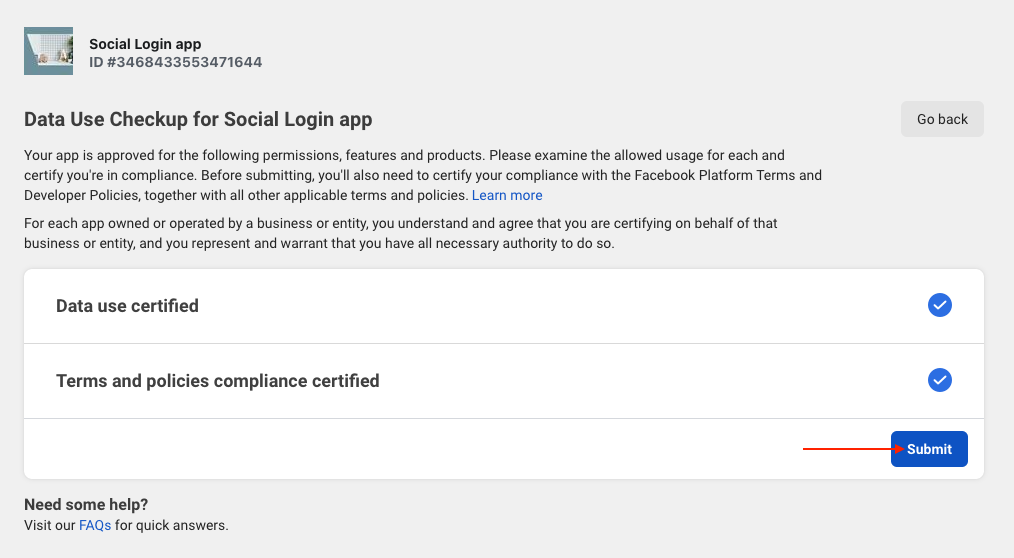
Click on "Submit":
Finally click on "OK":