How to configure the LLMS.txt tool?
The module automatically generates a llms.txt file, placed at the root of your site. This file is a standard designed to help artificial intelligences (AI) and search engines quickly understand the structure and content of your shop. It acts as a simplified access map, specially formatted for robots, allowing them to easily identify your products, categories, and important pages.
In addition, the module generates markdown files for each product, category, and CMS page. These files provide a clear, structured, and lightweight version of your content, ideal for indexing by AIs and modern search engines.
This automated generation allows you to keep your site always up to date for robots, with no manual effort. See the official llms.txt documentation for more information.
a) Configuration
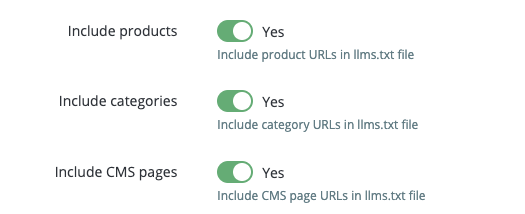
The LLMS > Configuration tab allows you to precisely define which content will be included in the llms.txt file and the markdown files generated by the module. You can choose whether or not to include products, categories, CMS pages, enable multilingual support, and add additional information.
- In the LLMS > Configuration tab, enable or disable the inclusion of products, categories, and CMS pages as needed.
- Enable the Multilingual support option if you want to generate files for each language of your shop.

- If needed, enter additional information in the dedicated field (e.g.: legal notices, shop information).

- Click the Save button to save your settings.
- Then go to the File Generation tab.
b) File generation
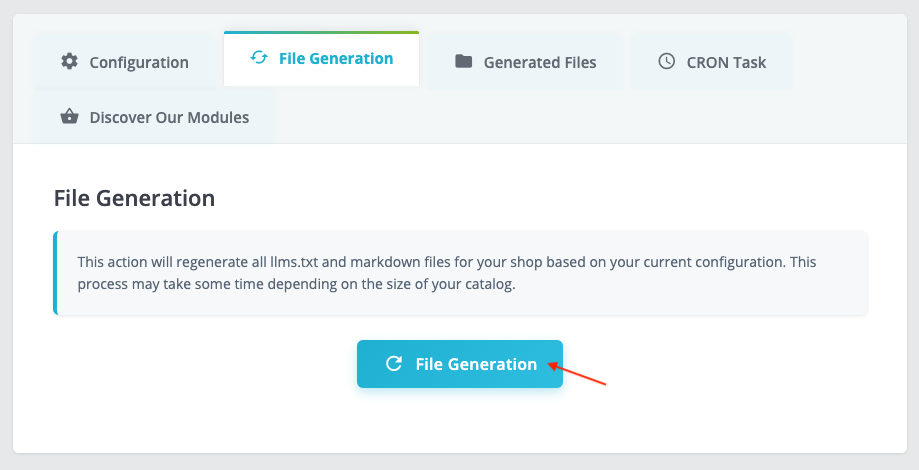
The File Generation tab allows you to manually launch the generation or regeneration of the llms.txt file and markdown files. A summary of the generation (number of files, duration, etc.) is displayed after each operation.
Note:
- Manual generation is only required during the very first use of the module, in order to create all the files for your existing catalog.
- Afterwards, generation is performed automatically in real time with each modification, addition, or deletion of a product, category, or CMS page. The corresponding markdown files and the main llms.txt file are then updated instantly.
- The CRON task (see below) allows you to regenerate all files regularly and automatically (for example, every night). This ensures that all files remain consistent, even in the event of massive changes, batch imports, or occasional issues during real-time updates.
- Click the File Generation button to start creating the llms.txt index and content files:
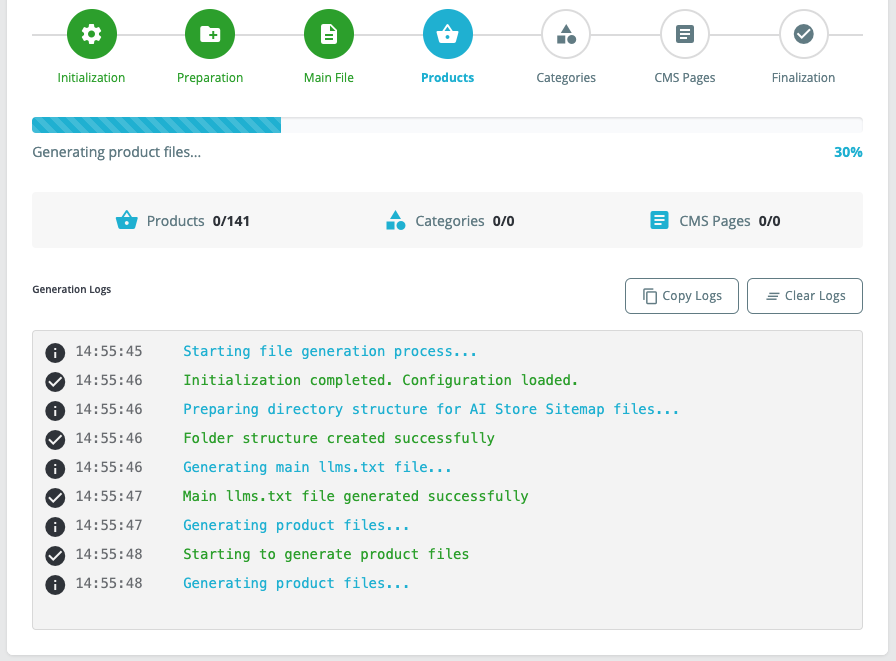
- You can follow the steps of the file generation:
Once the generation is complete, where are the files located?
- The llms.txt file is saved at the root of your site (e.g.:
/llms.txt). It is publicly accessible athttps://your-shop.com/llms.txt. - The content markdown files are saved in the
/llms-content/folder at the root of the site, organized into subfolders:/llms-content/products/for products (e.g.:/llms-content/products/12345.md)/llms-content/categories/for categories (e.g.:/llms-content/categories/12.md)/llms-content/cms/for CMS pages (e.g.:/llms-content/cms/7.md)
https://your-shop.com/llms-content/products/12345.md).
You can also view the files in the Generated Files tab.
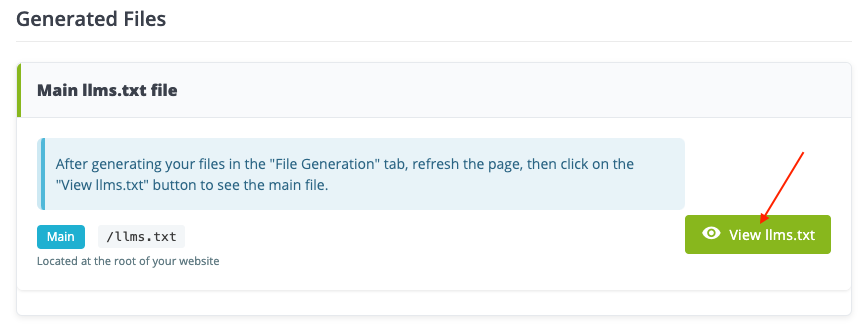
Note: After generating your files, refresh the page if you want to view them in the "Generated Files" tab (see below).
c) Viewing generated files
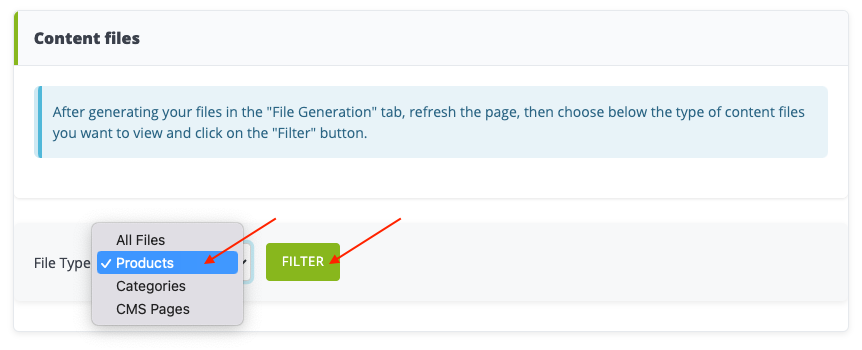
The Generated Files tab allows you to view, filter, and access all files generated by the module (main llms.txt file, product, category, CMS markdown files). You can filter by content type, view the content of a file, and download if needed.
- After refreshing the page, click the "View llms.txt" button to view the main file in a new tab:
- Select the type of content file to view, then click "Filter":
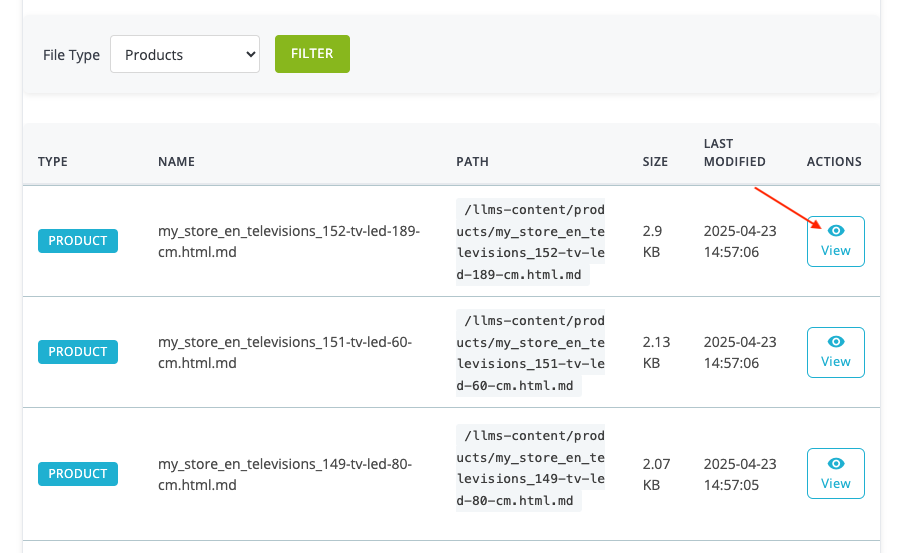
- For each file, click "View" to open it in a new tab:
d) Setting up the CRON task
Why set up a CRON task? Even though real-time generation covers most needs, the CRON task acts as an extra safeguard to ensure your entire catalog is up to date, without manual intervention.
Mandatory prerequisite: To use automatic generation via CRON, you must:
- Have access to your hosting's CRON configuration (cPanel, Plesk, SSH access, etc.).
- Check that your host allows the execution of external CRON tasks.
If you do not have access to the CRON configuration, contact your host or system administrator.
- In the LLMS > CRON Task tab, copy the CRON URL provided by the module.
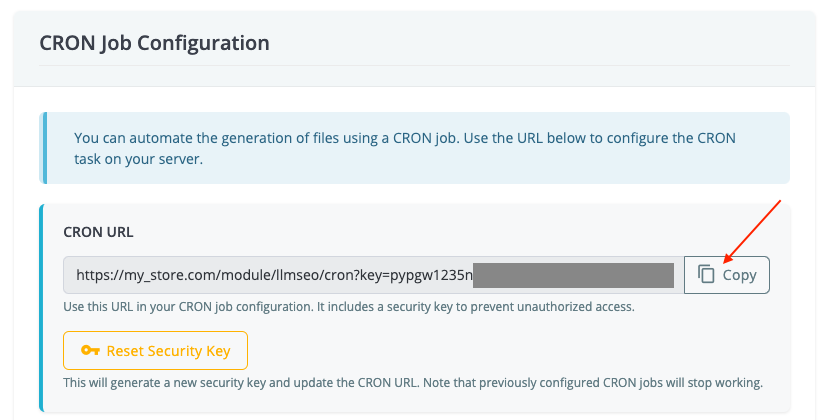
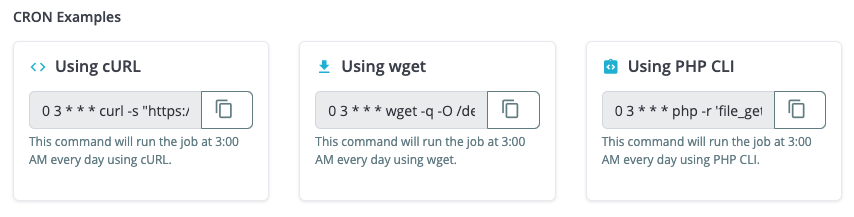
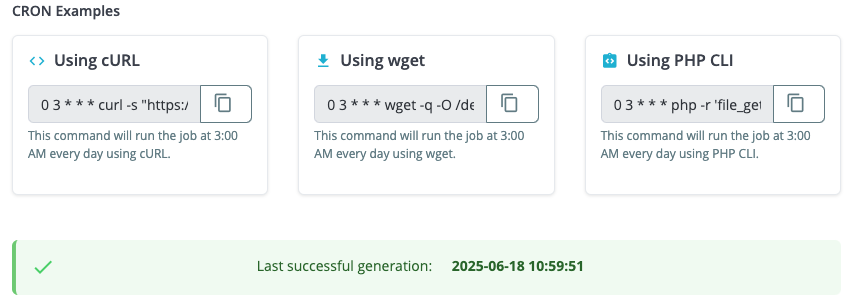
- Add this URL to your hosting's CRON configuration (using cURL, wget, or PHP CLI as you prefer). You can use the example CRON commands provided by the module (copying commands is possible).
- Save the configuration on your server.
Note: If you reset the security key using the dedicated button under the CRON URL, remember to update the CRON URL on your server. Otherwise, previously configured CRON tasks will stop working.
Tips:
- Schedule the CRON to run at night to minimize performance impact.
- Regularly check the date of the last generation in the module. It is shown under the CRON examples:
Other FAQs in this category
- How to configure the AI bot traffic analysis?
- How to configure the GEO advanced optimization (fresh content, aiCitationPhrase, UsageContextTags)?
- How to configure the Alt Text tool?
- How to configure the FAQ tool?
- How to configure the IndexNow tool?
- How to configure the GEO JSON-LD tool?
- How to configure the XML Sitemaps tool?
- How to configure the GEO Suite module?
- CLI method: how to avoid timeouts when generating fresh content